Shooting directly into the sun produces some fantastic images, but you need to do it correctly and understand how to control your cameras exposure. As there are a lot of people out there shooting into the sun and the results are less than flattering and from looking at these images there are just some key principles that are taking their image from Hero to Zero.
So in this article we are going to look at camera settings to keep in mind when shooting. I am then going to go through some of my images that show you the process and thought that went into it and the capture settings. At the end of the article I will give you a capture workflow to start with. So lets get started.
Shooting into the Sun Camera Settings
Before we look at (or you jump to the examples) of shooting into the sun, we need to talk about camera settings and how you go about doing it. Because your shooting into the sun the first thing your camera is going to do it freak out in terms of trying to adjust the exposure to be balanced. So when your in an Aperture Priority shooting mode your camera is going to try and control the exposure with shutter speed and most likely it’s going to hit your max shutter speed (1/8000 of a sec on the 5D Mk III). For me I want to have full control over the capture so I will shoot in Manual most of the time, especially if the light is tricky to control in Aperture Priority.
My general camera settings for these kind of shots are below. With the examples you will begin to see a pattern of camera setting used:
ISO around 50 to 100. Having a high shutter speed by making your ISO more sensitive is not required. Shutter speed will not be an issue with shooting into the sun. The thing is if your camera maxes out it’s shutter speed could mean your images are going to be way over exposed. So try and control your shutter speed so you know how far out it is.
Aperture will be used to control the shutter speed. With the images below all capture settings will be given along with a break down and explanation.
Shutter Speed will be high because we are shooting into the sun. I always try and make it less than the camera’s max shutter speed as I like to know I am working in a controlled capture environment.
Things to remember in shots like this is over exposure is unavoidable as your shooting into the sun so don’t be scared of it… I want you to embrace it. I want you to explore to deliberately over expose your image as this over exposure will give you detail in shadow areas and it will make your image light in colour.
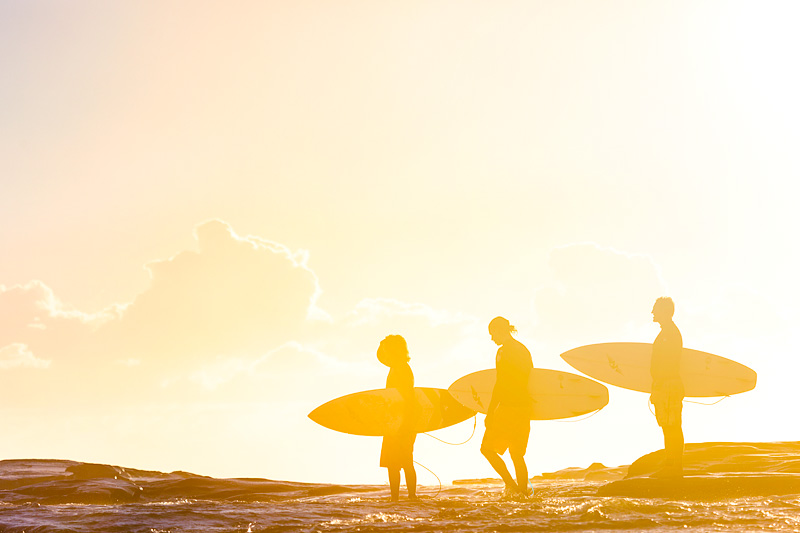
Three’s Company – f5.6, 100 ISO, 1/3200th of a sec – Canon 5D Mark III, Canon 100-400mm Lens
@ 190mm. Aperture Priority.
Silhouette
Shooting into the sun makes the best Silhouette’s. But there are traps that people get stuck in where because of their exposure being too dark what’s in shadow is too dark and lacks any detail or if there are multiple objects they lack separation or the dark mass in their shot is over powering.
In this image I waited for the shot as I know or expected it to happen, I was in the right place at the right time for this to happen. My focus point was on one of the three. At the distance, I am away with a focal length of 190mm and an aperture of f5.6 that the background clouds will have an amount or depth of field softness to them. If not they would be easily softened in post production.
With a shot like this you need to shoot quick as they are going to move. I took several shots with them at different focal lengths and placements in the frame.
Don’t wait for the shot to happen and then play around with your camera to get the right exposure. Start shooting them when they aren’t what you want. During this time your fine tuning all your settings so when the shot presents itself your just shooting for the right composition.
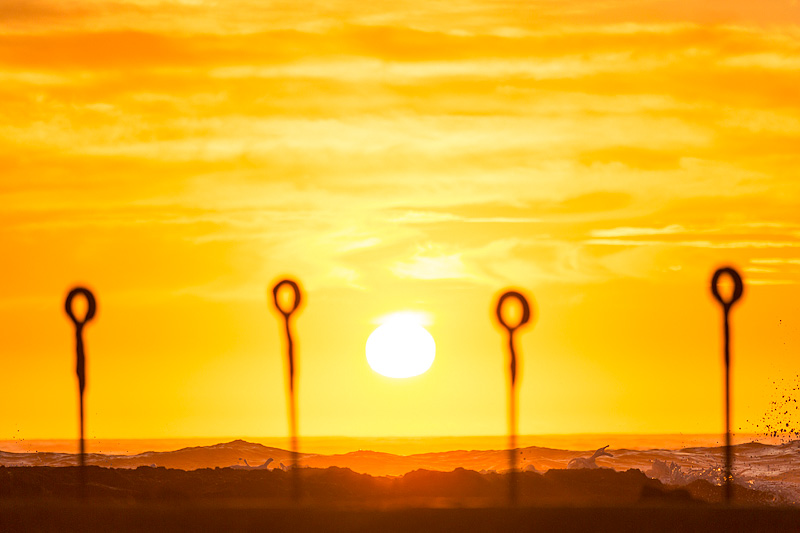
Canoe Pool, Newcastle – f5.6, 200 ISO, 1/1600th of a sec – Canon 5D Mk III, Canon 100-400mm lens @ 310mm. Manual.
Depth of Field for Composition
This was a tricky shot hence why the capture was in manual. The sun here is un filtered / defused by any cloud so the contrast will be greater. In this shot I was looking for a deliberate look in the old poles for them to be dark and contrasted against the sky. I included a minimum amount for dark foreground but enough so you know where the poles originate from.
With the Three’s Company image my focal length was 190mm with this shot it is 310mm, but with the same aperture you can see a big difference in the depth of field, the reason for this is my focal point was the background. I focused on the clouds as I wanted the poles to be almost like apparitions. I also wanted greater exposure detail in the sky so I was looking for an exposure that gave this to me. I’ll never get the sun correctly exposed so my exposure focus was on the surrounding area.
This photo took about 1 minute to process in Photoshop and it was mostly just a contrast boost.
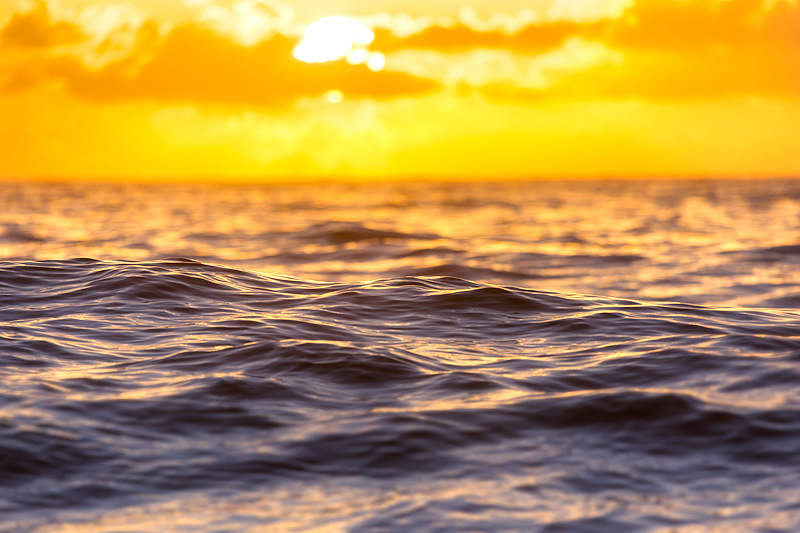
New Day – f5.6, 200 ISO, 1/800 of a sec – Canon 5D Mk III, Canon 100-400mm lens @ 400mm. Aperture Priority.
Depth of Field for Composition - Opposite
The idea around this image is very similar to the above Canoe Pool shot where I wanted to limit my depth of field but in this shot I wanted the background blurry. Again I had the lens at it’s maximum focal length of 400mm with an aperture of f5.6. With a shot like this I am standing on the shoreline with the water at my feet and I’m composing the shot not too far out as the further I focus out the more detail the background will be.
I’m shooting in Aperture Priority as the light is easier to control and I am shooting at a shutter speed that isn’t in the maximum range of my camera. Like with the threes company image when the sun rises I will have a limited amount of time to get this shot as the sun will rise quickly. Work out your composition angles and exposure prior. If you get your exposure close then as the sun comes up and more light becomes available you will only need to make minor adjustments to your camera settings to keep them correct.
Looking at my settings for this shot I could have done a better job. Given I am shooting at 400mm I think a shutter speed of 1/1600 would have been better (an extra stop). With the 100-400mm lens @ 400mm my max aperture is f5.6. Seeing that I shot at 200 ISO a choice of 400ISO would have been wise. The reason why I should have shot at 1/1600th of a sec over 1/800 is with telephoto lenses it is good practice to have a shutter speed that is two stops up from your max focal length. With this image I got away with it. But in review, there could have been improvement.
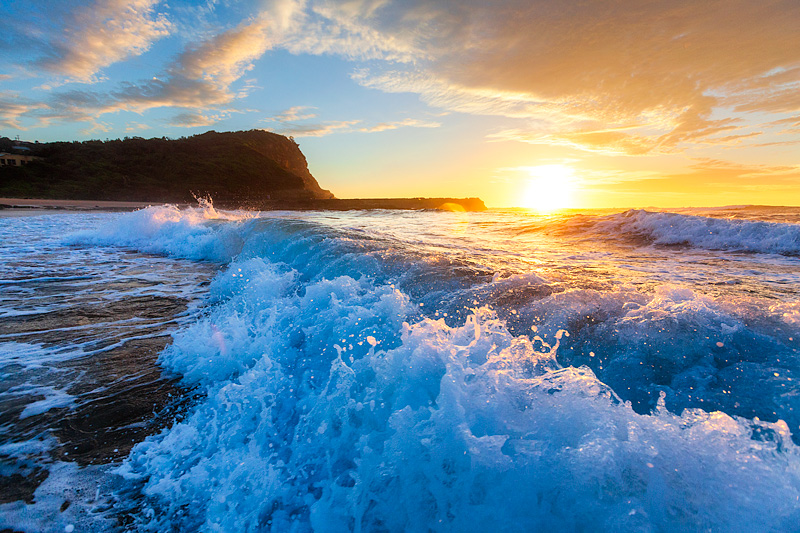
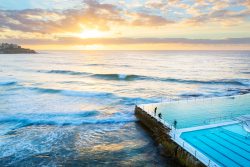
North Avoca, Central Coast – f5.6, 640 ISO, 1/800 of a sec – Canon 5D Mk II, Canon 16-35mm f/2.8L Lens @ 16mm. Aperture Priority.
Limiting Dark Shadow Areas
This image is captured in an underwater housing and handheld. My camera is on Auto focus and the camera on Aperture Priority.
With this image I wanted to illustrate that the background headland is in complete shadow and no light from the rising sun is falling onto it. If I was shooting this image on a tripod there are various multiple exposure techniques I could use to blend in detail, but when you can’t it is a good idea to keep dark shadow area’s to a minimum. As you can see with this image the rising sun is over exposed as you would expect. The area surrounding has a nice exposure to it mostly due to the wide angle focal length allowing a large field of view and not isolating small areas of exposure difference.
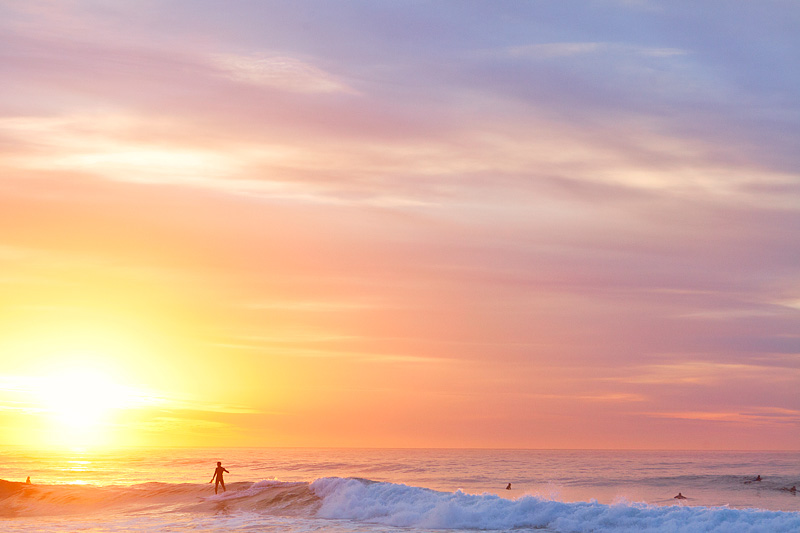
Morning Delight, Central Coast – f5.6, 400 ISO, 1/320 of a sec – Canon 5D Mk II, Canon 24-70mm Lens @ 70mm. Aperture Priority.
Diffused Light
When I took this images the sun was nicely diffused by the cloud cover that was thin enough to let the wonderful colours of the morning through. Again this is handheld my focal length is 70mm and my shutter speed is 1/320th of a sec. Which is perfect. My only concern with the shutter speed would be “is it fast enough to capture the surfer without any blur” but if they were slightly blurred would it really matter ? No not really.
I’m shooting this image on my Canon 24-70mm f2.8 Lens so I have room to move in Aperture if needed. My ISO is within my cameras range to not add noise in my images. Everything here capture wise gets a tick. When you look at the sun it is over exposed as you would expect. The shot was balanced for the majority. The sun is the minority.
Overview
When I selected all these image for this post I just selected a range of image where the sun was a feature. These shots are months and years apart but when you look at all the settings what are they showing consistently. An aperture of f5.6, an ISO of below 400 and a shutter speed that is double the focal length used. Everyone of these images are offered on my website as being able to be printed 1.5 x 1 meter in size on metallic paper for me this is a true testament of an image that is captured correctly.
Keep in mind that these settings can change and this is not a hard and fast workflow but when your standing on the beach wondering where should you start this is your starting point.


