RAW v’s Jpeg… Like there is any fair competition, it’s like bringing gun to a sword fight. It’s not to say Jpeg doesn’t have it’s place and it is an excellent image format, but when we are talking about image capture the only format to shoot is RAW. It is as simple as that.
It’s not to say you can’t shoot jpeg as well with your camera and in this article I will point out when you should or better to say could shoot Jpeg.
The difference between RAW and Jpeg is more than just file size. I find the best way to describe it to people is this.
Think of your RAW file as your roll of film and your Jpeg as the 6×4 image that is created off it. Your film is your master capture. With that shot on the film you can print a 6×4 or 12 x 8 or 24 x 16 sized photo. With your Jpeg aka your 6×4 you don’t have the size to print any larger.
With this in mind let’s delve a little deeper as this example is pretty general but it does sum it up.
WHAT IS A RAW FILE
Your RAW file can also be referred to as your “Digital Negative” and are files that are saved off your cameras sensor direct to your memory card based on the capture settings you have shot it with (ISO, Aperture and Shutter Speed). The file dosen’t under go any kind of pre saving process unlike the Jpeg. This is why when you open your RAW files in your chosen image editing software they will look flat, the thing is everything is in there like a box of ingredients you just have to make the creation.
Your RAW file isnt exactly a useable file. The file extension you will see at the end of it will be .CR2 which is the most common or .NEF if your a Nikon user. These files need to be opened in software that has the ability to process RAW files. Finding this software these isn’t hard to find and if your shooting RAW files you should we working on a platform like Adobe Lightroom or Photoshop so this will be easy and straight forward.
Once your RAW file is processed you can then save it to any file format you like, saving it at this stage to Jpeg is a waste you need to save the file as a .TIFF file this is a lossless file saving file format, unlike Jpeg that will prompt you for the file compression setting.
WHAT IS A CAMERA CAPTURED JPEG FILE
When your camera takes a jpeg photo it under goes a series of processing when the image is finally saved to your memory card. Below is what your camera is going to do for you.
- Loss of resolution. Your jpeg will be saved at 72 dots per inch.
- The white balance that you have chosen on your camera ie Sunny, Cloudy etc will be embedding to the image so any adjustments later will be done and applied directly to pixel information in the image. So if your white balance setting is way off and needs correction this may cause strange banding in your image.
- The jpeg capture processing process will also cause your camera to dump information in the image that sits in the shadows and highlights. This means highlights and shadows will have less detail that can’t be recovered.
- Your camera “Picture Profile” settings will be applied to the image. So if you have the image set on “Landscape” it will add a lot more colour to your images, in some cases the amount of colour added can be too much and you start clipping your colour changes and detail will be lost in these areas.
- Your jpeg file is only 8 bits in depth, which means when editing your file dosen’t have as much pixel information to play with unlike a RAW file.
DID YOU KNOW...
If you shoot with a Black and White picture profile and have your camera set to shoot only RAW files. When you view the image on the back of the screen it is Black and White, but when you open the file it will be colour. This is because the camera does not touch the RAW file in any way. The reason why you see a Black and White image on your LCD screen is because you camera can’t preview a RAW file so it shows you a Jpeg preview it creates. So if you shoot RAW + Jpeg and your shooting Black and White your RAW will be colour and your jpeg will be Black and White.
WHEN YOU COULD SHOOT JPEG
TRAVELLING (jpeg only + RAW when you need too)
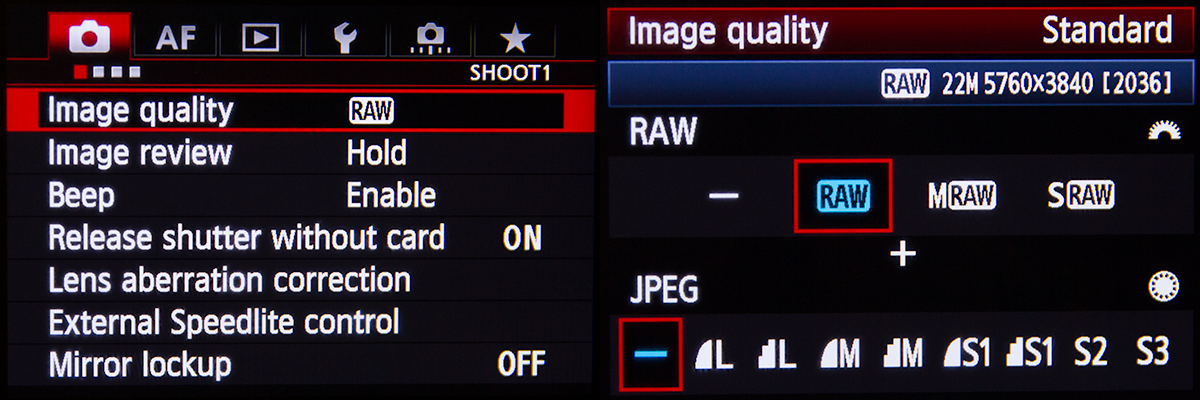
When teaching I have heard numerous students tell me that when travelling they frequently run out of space on their digital camera as they have been shooting RAW and the file size difference can be considerable. The thing is when your travelling do you really need a RAW file of you standing in front of a monument or with your arm around your friend or partner, probably not. So this would be a good time to shoot just jpeg and select jpeg large as the size option. Then if you really see a killer shot happen or sunrise or sunset work capturing then flick your camera to RAW and shoot away and then change it back.
WEDDINGS (RAW + jpeg)
Now with weddings or shoots where your going to have a lot of image that need to be sent to a client for approval for editing / selecting then shooting RAW + Jpeg is a great option. Yes it will take up more file size so let’s assume you have the file space. The idea behind this is you can set your camera up to produce the best web sized files for pre selection. Like jpeg small, sRGB as the colour space and a pre set of portrait in the colour settings. Then these files are ready to drag and drop, you don’t have to pre process all these RAW files and then run a script over them to save as a small jpeg ready for web / emailing presentation as you already have it.
FIELD TESTS
The best way to see how RAW and Jpeg do and don’t work is to do some tests right now with your camera when you next out and about. So make sure you have your camera set up to shoot RAW + Jpeg.Black and White Test.
Test 1. Black and White Test.
With your picture style set to Black and White take some shots and then see how your Jpeg is black and white but your RAW isnt.
Test 2. Landscape Picture Style Test
While your in your picture style settings lets do another test where you set your camera to Landscape which will add the most saturation to your image. If you do this on a sunny day you will see the over dramatic colour saturation in the sky. Now compare this with your RAW file. Process the RAW file as best you can and compare it to you jpeg capture. You will see the difference.
Test 3. White balance.
In your white balance setting lets do something extreme and set it to fluorescent. Now go take a photo outside. This setting is use for indoor photography to counter the warmth in the lights. You should see a very blue image. Now try and edit out this case in both your RAW and jpeg file and compare the results.
Test 4. File size.
With any of the images you have taken for the above tests check out the file size of them both. In photoshop go to Image > Image Size and you will see the capture pixel width and also the resolution of the image as well.
With these three simple tests
MYTHS ABOUT WHY YOU SHOULD AND DO SHOOT JPEG
These are some of the top reasons why people have shot Jpeg over RAW and they really aren’t a credible reason why. So if your one of these people then please try and change your ways.
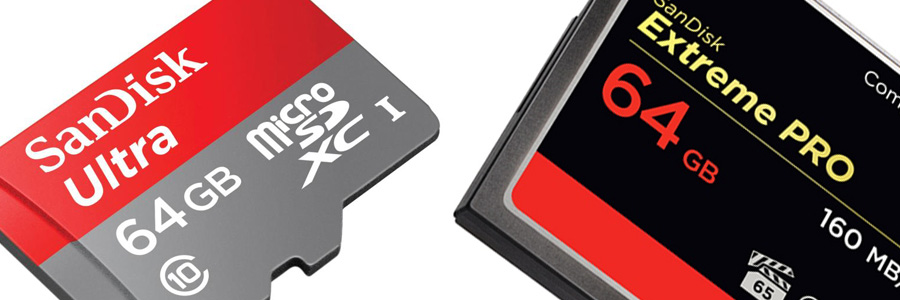
- I don’t have the space on my memory card. Then go and buy a bigger card. The mega pixel of your camera and the size of the RAW files it produces isn’t at the same advancements as what memory card technology is producing. I shoot with a SanDisk Extreme PRO 64GB Compact Flash Memory Card
and it cost me about $180 AUD. This is a very small price to pay for the images I would loose from having a smaller card, let along capturing that amazing photo only to be limited to editing or print size because it is a jpeg. SD cards are even cheaper and a lot of cameras these days take them or your camera has a second slot for it.
- I don’t need a RAW file. This is a good one. When people come into the lab and ask me about how big can they get their photo printed and I ask if they have the RAW file (aka the .tiff file from it) and they answer “I never needed a RAW file”… until now ? If you have the room then shoot RAW, or RAW + Jpeg. It is always a good practise.
- I don’t have the storage space for the RAW files. Again just like the answer to point number one. Storage these days is cheap. You can get a 2 Terrabite harddrive for around $100 AUD and that’s a good brand. This will hold a massive amount of images from your trips out and about.
- I don’t have software that can process RAW files. You do, it would have some with your camera. But instead of learning that why not get access to Adobe Lightroom or Photoshop for the month for price of one trip to the cafe for coffee and cake. I’m sure you have done it after a photo shoot like we all have.
PRO TIP
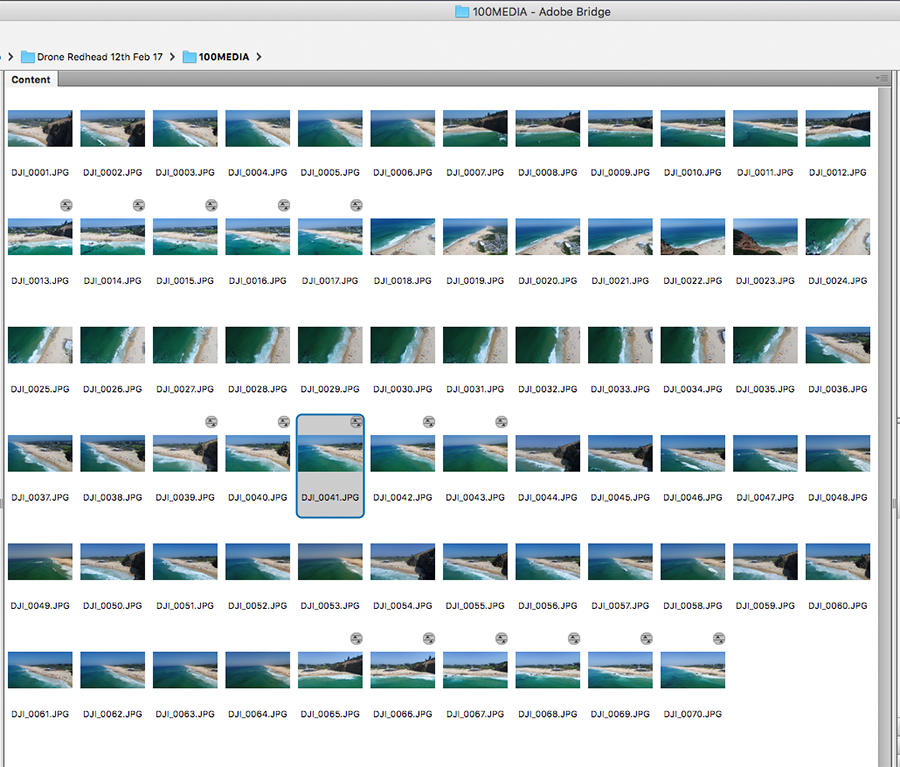
Of all the camera settings to change in your camera shooting and making sure your camera is shooting RAW files is number one. Just recently I was flying my Phantom 4 Pro drone and I always have it set to capture RAW files. Before flying it came up with an error and I had to restore the firmware, after this I had to change all my camera settings back as it reset everything. Then when I took it out for it’s first flight after the restoring I failed to re check it was shooting in RAW big mistake as after what I thought was a great shoot I found all my files were .jpeg.
So my pro tip is… always check that your camera is set to shoot RAW. Especially if you lend your camera to someone (face palm if you do). But if you do check this. If you do any firmware updates or restoring again check. Your captured files are too important to shoot on jpeg when you assume your shooting RAW.

