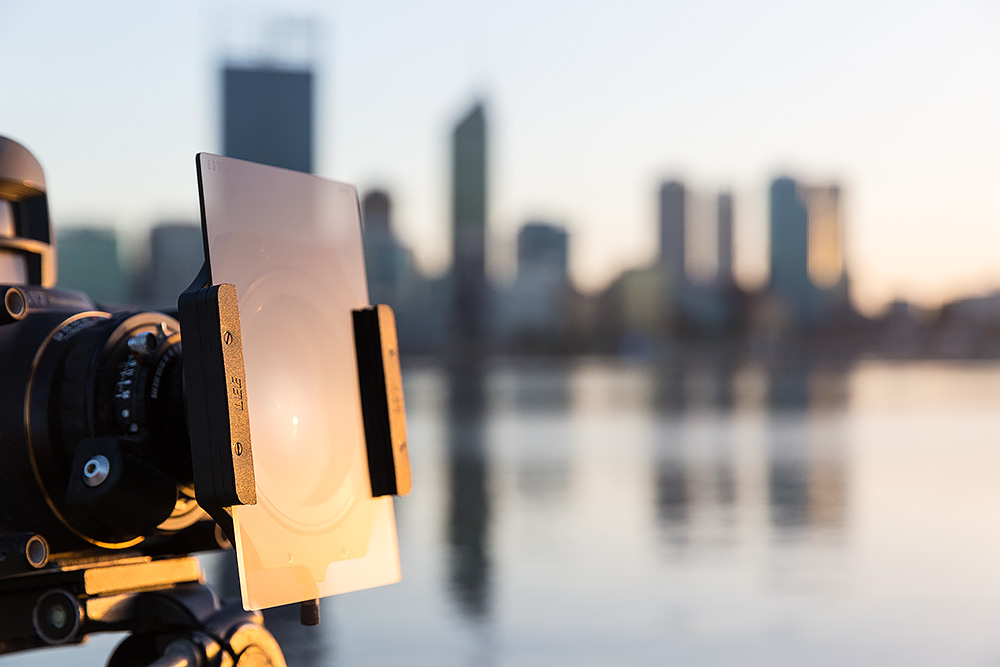
When it comes to landscape photography being able to control the dynamic range of your image, controlling the shutter speed for movement effects or the glare in a shot is essential and failure to do this can leave you with a photo that isn’t correctly exposed or lacks the Wow factor. You don’t need a massive amount of equipment or gadgets when it comes to capturing landscape shots but you do need these three essential items.
The first being a set of graduated Neutral Density Filters, a Polariser and a set of full Neutral Density Filters. That’s all you need. In this article I am going to talk about these three types, the best brands and options you have in each and how to use them to the best of their ability to get great results.
WHAT ARE GRADUATED NEUTRAL DENSITY FILTERS
A graduated ND (Neutral Density) Filter is most commonly used to control the light intensity in the sky to balance it with the foreground, so your overall exposure looks even, without one you will have a well-exposed sky and dark foreground or a well-exposed foreground and an over exposed or white sky.
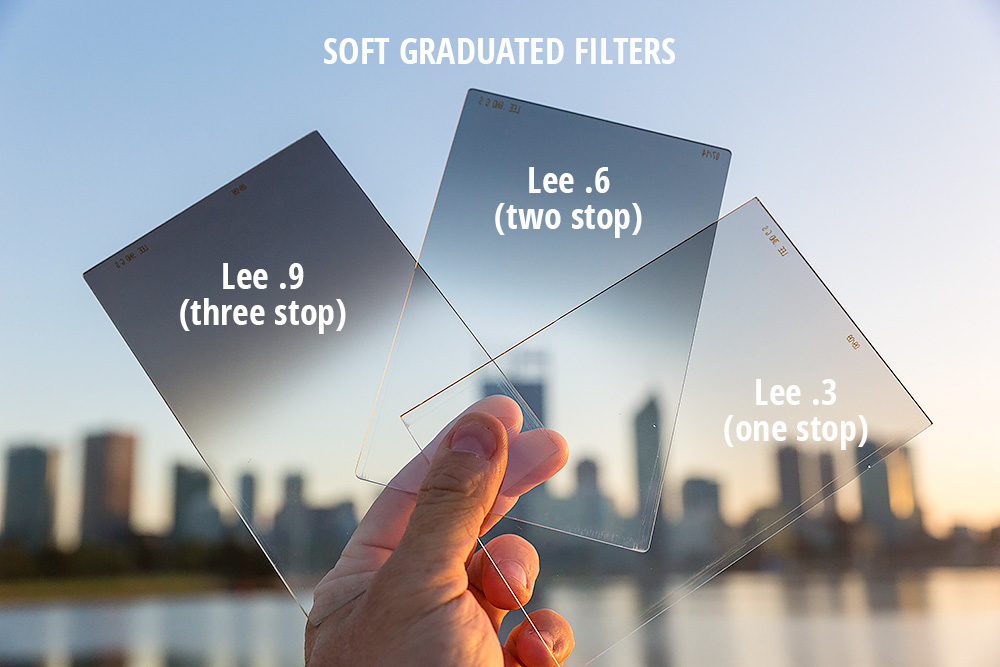
There are two types of graduated filters you can get, Soft Grads or Hard Grads. The difference between the two is how the graduation tapers off to nothing. In the above image they are soft grads. For example on a filter that is 150mm in height the 3 stop grad at the top will start as a three stop then over the 75mm off tint the strength will taper from 3 to 2 to 1 to 0 in strength. On a three stop hard grad the graduation over the 75mm will be 3 stops for 70mm and then in the last 5mm it will go from 3 to 2 to 1 to 0.
Graduated ND filters come in a range of strengths usually in one stop increments, but can come in other increments of 1/3rd or 1/2. (Read this article if your unsure what a stop is). The Graduated ND filters will refer to their strength in numbers as outlined below.
.3 = 1 stop
.45 = 1.5 stops
.6 = 2 stops
.75 = 2.5 stops
.9 = 3 stops
Note that when you are purchasing full ND filters that are discussed in detail below this same scale is used to determine the strength.
WHAT GRADUATED FILTERS SHOULD I BUY AND NOT BUY
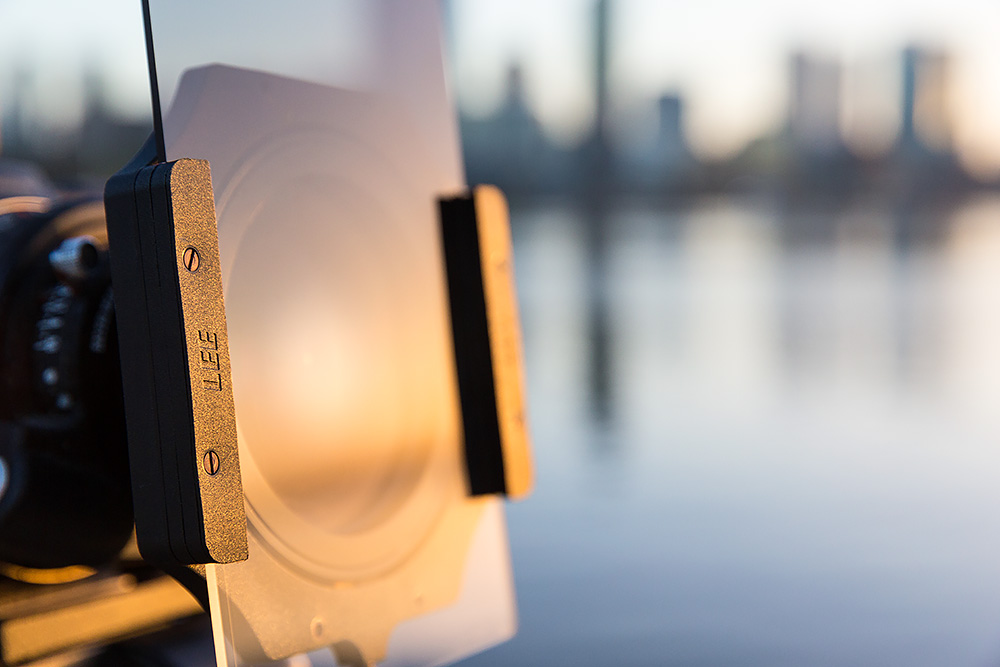
The only type of graduated filters you should purchase are ones that are flat and they slide in and out of a filter holder that fitted to the front of your lens.
Never buy a graduated ND filter that screws into the thread of your camera lens as you have no control over where the filter is applied in your composition as it is always 50/50. With a glass or resin flat filter it is held into place by the filter holder, then once the filter is slipped into the holder you can adjust it perfectly for your composition. You might find the filter is only applied to 1/3rd of your shot as you have a heavy foreground composition. If you had the 50/50 screw in filter you would be applying darkening to a portion of your ground which will look horrible.
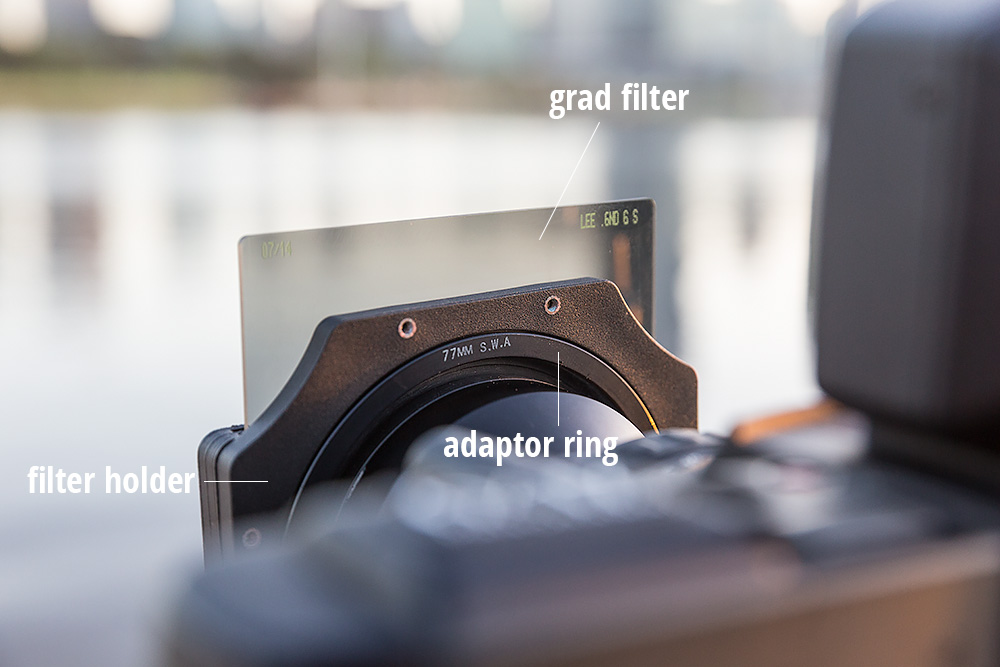
WHAT FILTER HOLDER AND ADAPTOR RING SHOULD I BUY
Every manufacture of graduated Neutral Density filters will also sell the required filter holder and adapter ring to fit there system.
Firstly the filter holder what is it. The filter holder will only come in one size. The filters you buy will usually be 150mm x 100mm in size or 100 x 100mm. The filter holder will cater for both these sizes of filter with the 100mm width, allowing the filter to cover a hole in the holder with the filter which will be the window the lens looks through.
The Adaptor ring is something that will be unique to the diameter of your camera lens. (This article will help you find out what’s what on your lens). The adapter ring will have a fixed external size that the filter holder will clip onto, but the inside will have it’s own range of sizes and it is this size that will screw into the thread of your lens to hold the filter holder securely in place.
When you buy an adapter ring there are several types. Each one will determine how close to the lens it will hold the filter. The range in Lee Filters is Standard, Wide Angle (WA) or Super Wide Angle (SWA).If you purchase a Standard filter and put it on a wide angle lens like a 16-35mm lens you most likely will find the filter holder will encroach within the field of view.
Personally if you use a SWA filter on a lens that doesn’t need it, your always better off having this as if you happen to have a wide angle lens with the same lens diameter it will work perfectly. All my adaptor rings for my lenses 82mm and 77mm are SWA.
USING YOUR ND GRADUATED FILTERS
In my kit of filters I have the Lee .3, .6 and .9 Soft and Hard Graduated set. This gives me a great range of options when it comes to controlling the sky. The whole idea of the filters as we have discussed is to control the light intensity in the sky and even it out. But when you think of how a sun rises the horizon is where it is most bright with the sun. So if your using a .6 (2 stop soft grad) you can find that when you align the filter with the horizon you can find that the brightest area isn’t filtered at all. But the sky above is perfect.
When I am faced with a scene like this I have two options. I either go for a .6 (2 stop) soft grad and pull it to the horizon line and then also pull a .3 (one stop hard) grad to the bottom as well to assist with the brightness. So in essence I am using a three stop to control the sky. The .6 soft and the .3 hard.
RUNNING INTO PROBLEMS WITH GRAD FILTERS
Like everything there is a downside to using ND Grad filters and most of the time you will experience this when you have a sky that really needs to be controlled by pulling the filter right down to the horizon line but to the left or right or even in the center of your image is a headland, mountain range that is taking up half your sky, so when you pull your filter down your covering that as well.
So how do you solve this… well you kind of can’t. There are two things you try
First, if you think the scene needs two stops of adjustment you can just use one and then with the power of your RAW file you can try and pull back in the detail that may or may not been in the image.This is a good time to talk about Exposure Blending, or combining the two. Shooting with graduated filters and introducing an image shot without the filters for blending in the areas
Or you can look at the shot as a combination of two images. This is a good time to talk about Exposure Blending which is a natural progression for people who out grow using ND grad filters and this kind of limitation. For more information on Exposure blending, I have an article about the topic “The Basics of Exposure Blending“.

NEUTRAL DENSITY FILTER BRANDS
There are quite a number of good quality brands out there making neutral density graduated filters.
Lee Filters: This is the brand that I use and have used for the last 15 + years. The filters are great quality and the filters don’t add a cast to your image. The only thing I don’t like about the filters is they are resin (plastic) so they are susceptible to scratches which if there are enough they can cause marks in your images.
NISI Filters: I have no experience regarding these filters and at the time of writing (2017) they seem like a new player in the market. I know of a number of photographers who are promoting these filters and the images taken using these filters look great and I would have no reason or concerns using these myself.
Cokin Filters: These are an entry level range of graduated ND filters and your most cost effective. The filters will leave a colour cast to your images that leans towards a magenta. When out teaching I have seen this cast work in someone favor and I wished I had that cast in the sky but this would be rare and a lot of the time if you looking for that natural look to your images, then this cast will not be what you want.

