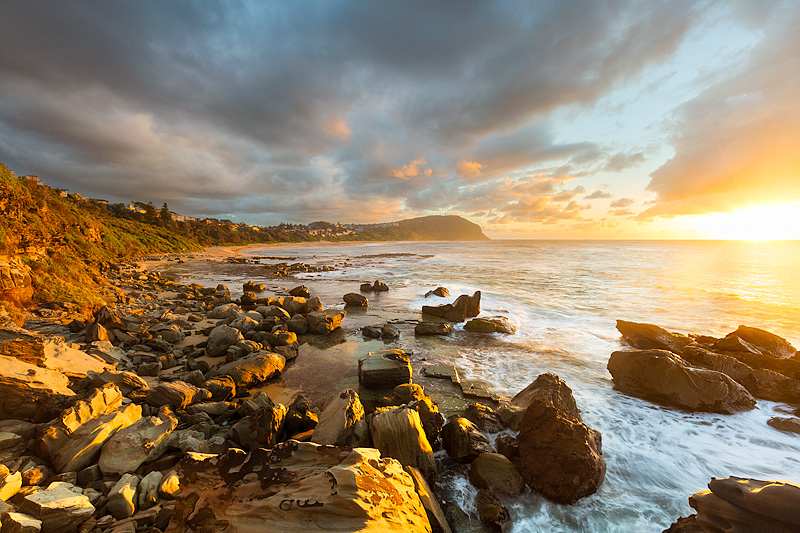
What I love about photography is how simple some things are, but you can struggle for so long when you have a light bulb moment and the solution is so obvious. One of these struggles is when you have no option but to shoot into the rising sun. Shooting directly into the sun I find is easier than with it on the side. In my article “How to Shoot Directly into the Sun and Get Away with It” I talk about how to do it correctly, but sun flare is a common enemy. Sometimes the flare works for you and complements the image, but then at times it doesn’t, especially when it is raw sunlight and not diffused by any cloud.
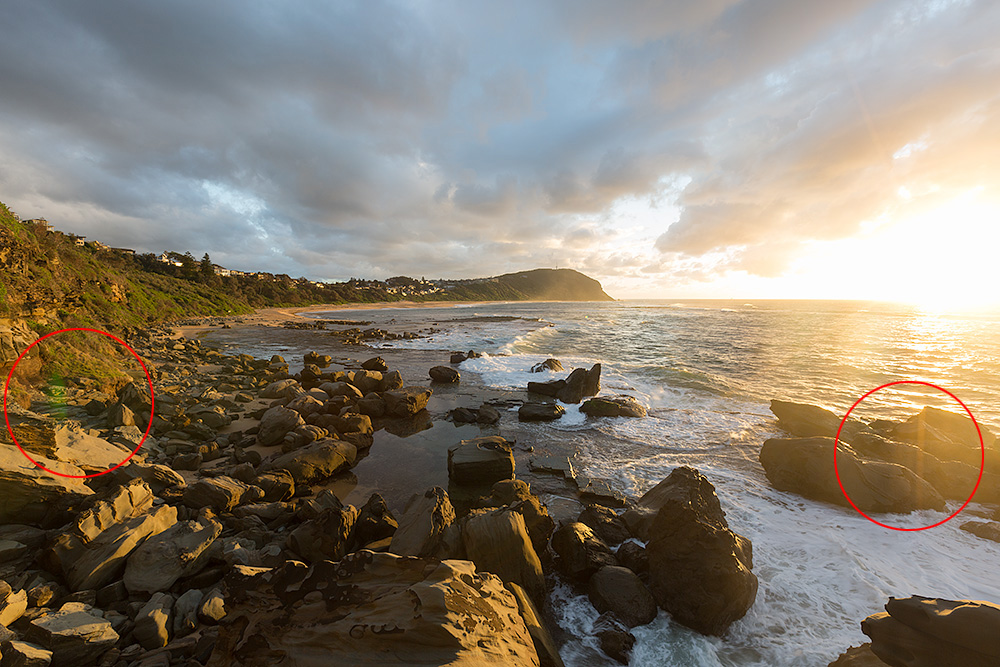
On the left we have a green sun flare and to the right the sun's light bleeds into the rocks making it look un attractive.
SUN FLARE PROBLEMS
I’m sure every photographer has had an image like this that they have struggled with. Cloning out the green mark to the left, trying to find the right rock texture to make it look like it never happened and to the right, where do you start with that kind of mess. Maybe clone it out and then select a colour to match back into the rock. Maybe ?
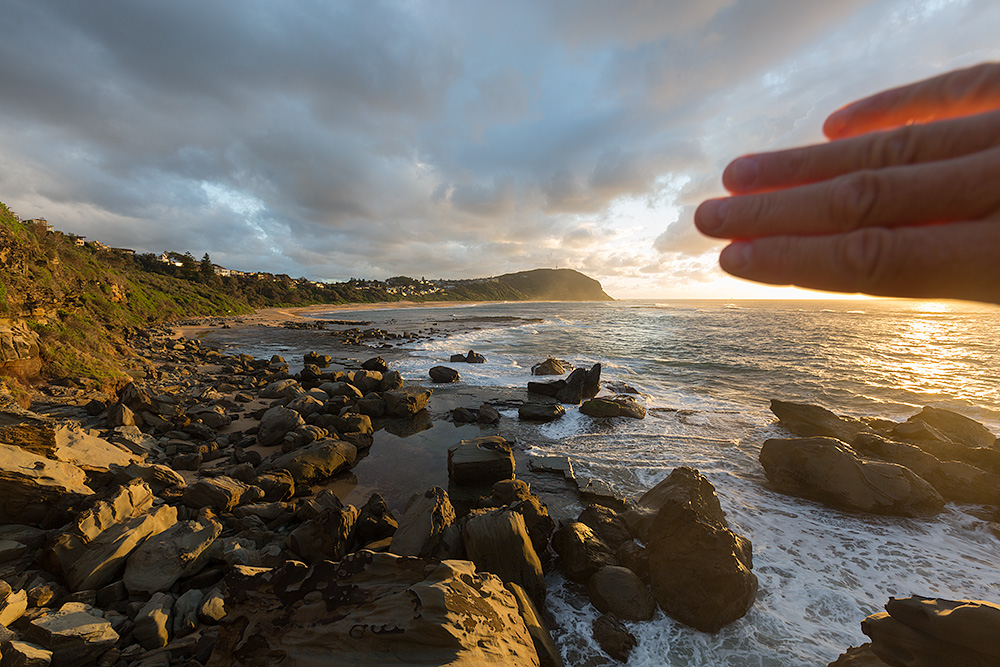
The very simple solution that you literally have on hand always.
THE SOLUTION TO SUN FLARE PROBLEMS
The solution is not just looking at your image as a single capture, but to think outside of the box and think multiple images to complete the image. Blocking the sun a pictured above with your fingers immediately resolves all of the problems with the previous image. The only problem is you have your fingers in the shot. Well this is a very simple case of masking to paint out the faults. I have an article “Understanding the basics of layer masks” that will show you the concept of masking.
One thing to note between the two images is the foreground in the shot with the fingers will lack some of the warmth in the foreground that results from blocking out the light, but the difference in very minor but you will see it when you mask out the faults.
Masking out the rocks on the right might take a few goes to get right, there is no special trick to doing it other than a soft edge brush set to 100% Opacity and paint on the mask to remove it.
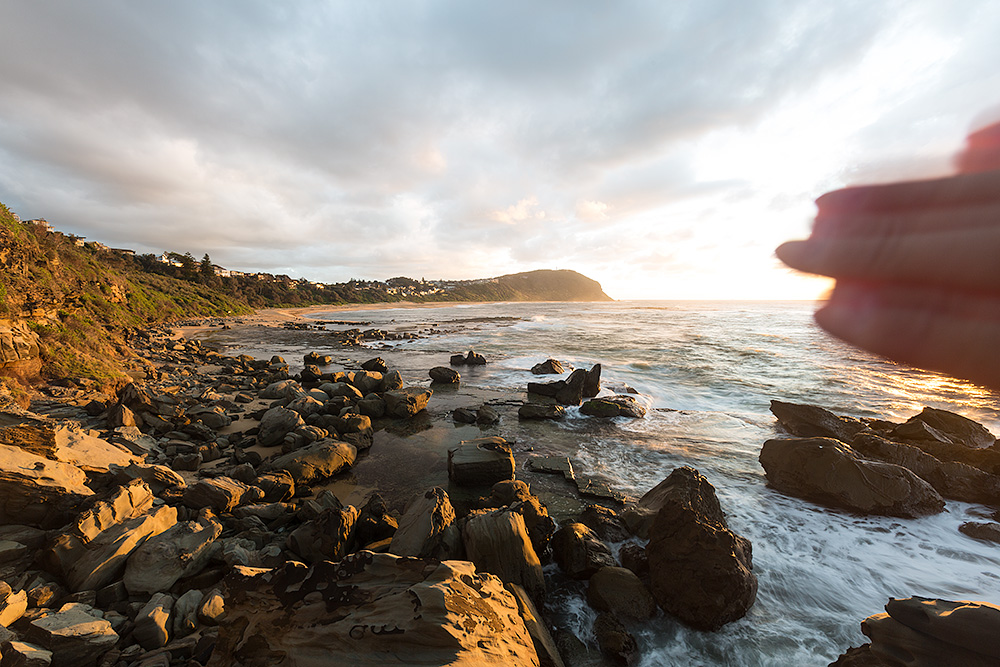
Make sure your fingers don't block parts of the photo you want to keep to blend
WATCH WHAT YOUR BLOCKING
In the image above when blocking the sun I actually made a mistake in dropping my fingers too low in the shot. In the image where the sun is not blocked you can see the light under the sun is also a fault, but in the image above I have blocked that out being tunnel visioned at the obvious faults. Blocking the sun is easy but just make sure you think of all the factors. In the case of this image I had to go back and realign my fingers to just above the horizon so the blocking was correct.

