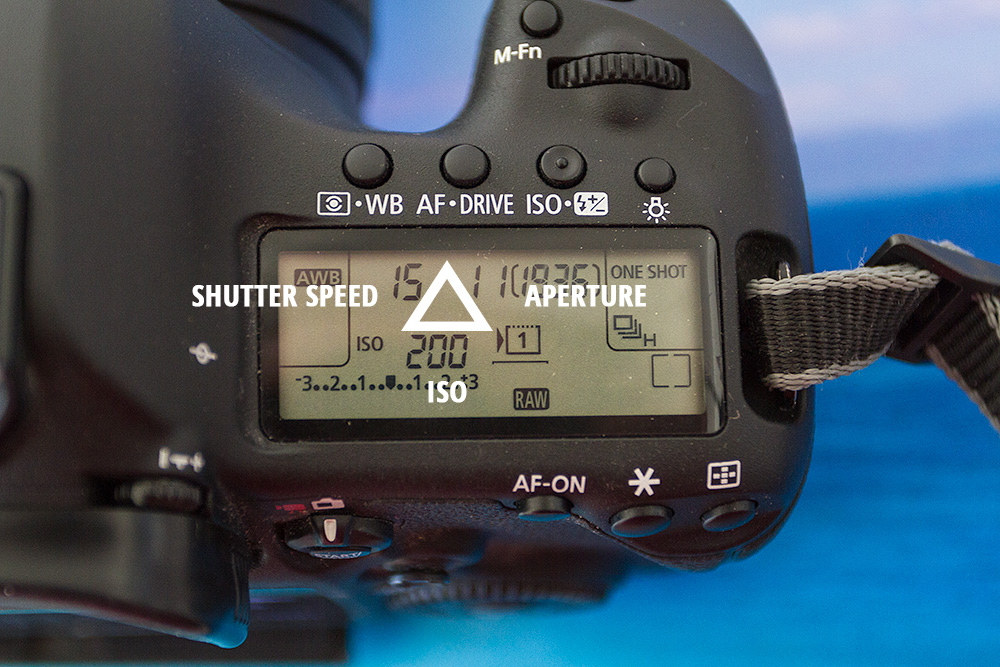
The Exposure Triangle triangle is a just a clicky term for the components that go to making your actual image exposure. Obviously because they have said “Triangle there are three components” if it was the the exposure square then there would be four.
The three components in the Exposure Triangle are:
- ISO. – Your cameras sensitivity to light setting.
- Shutter Speed. – How quickly your camera opens it’s shutter to let in light.
- Aperture. – The opening in the lens that again limits or increases the amount of light that is let into the camera. Though this is a lot different from the shutter as this is the only thing that controls your cameras depth of field. (Whats in focus and what isn’t.)
Now that we know what makes up the Exposure Triangle lets break it down a bit more and understand the relationship each of these has in allowing you to get the perfect correctly exposed image out of your camera.
To make this easier to understand I am going to give you a real life practical example and I am going to be very general about the settings and terms I use.
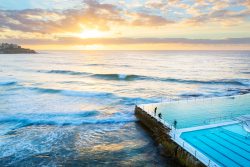
“Where out shooting sunrise and we want to get nice movement in the water (shutter speed) with good depth of field in the foreground to background (aperture) and we want the photo to be clean of digital noise (iso).”
Now if your photo is incorrectly exposed you need to change any one of the three settings to get it correct.
— Aperture | ISO or Shutter Speed —If your photo is correctly exposed but you either don’t have a fast enough shutter speed or your depth of field isn’t right or you don’t like your ISO speed. Then you need to adjust two of these settings. As when you change one your adjusting your exposure, to change the look of the image you need to change two. One for the adjustment and the other to compensate that adjustment.
Ok… now if your still with me lets put it into our real life sunrise shoot.
We roll up and our camera is on the tripod. We are shooting in “manual” and get our camera close to where we want our exposure to be but it isn’t great, our image is dark by 2 stops. Our settings are:
F11 (aperture), 200 ISO (iso), 1/15 sec (shutter speed).
So with a two stop adjustment I need to change a setting by 200%.I only change one setting as my image isn’t correctly exposed yet. So now lets look at our options and what effect it will have.
- Aperture. I’m shooting at F11 which is a great aperture to shoot landscape at. Now to make up the 2 stops of extra brightness I need I need to go from F11 to F8 to F5.6. Now this is not a good change to make. So lets forget about that.
- ISO. We have 200 iso. To make up the brightness here we need to go from 200, to 400 to 800 iso. Now on most modern cameras 800 is where you can see some kind of digital noise. It’ might not be bad but it is there. So let’s leave that.
- Shutter speed. We have 1/15th of a second. Now where shooting on a tripod so we dont have to worry about a slower shutter speed, a slower shutter speed is actually what we want as we want water with movement in it. So two stops from 1/15th of a sec we so to 1/8th to 1/4sec. Perfect. Our image now looks correctly exposed on the back of our screen.
We now have:
F11 (aperture), 200 ISO (iso), 1/4 sec (shutter speed).
But we want our image to be slower for more water movement, we want to shoot at 1 sec. Another two stops slower. Now remember we need to change two settings as we are correctly exposed, but because we want a shutter speed of 1 sec, we need to either change our aperture or ISO.
- Aperture at F11 we would need to change from F11 to F16 to F22. Not a big deal but very unnecessary. Higher apertures on digital cameras will tend to show ever bit of crap on your sensor as well.
- ISO at 200. We would change this from 200 to 100 to 50 or (L) on some cameras. Now this is perfect and the most logical choice.
Note for people who don’t have a 50 ISO option. Then you would just split the change. F11 to F16 and 200 to 100 ISO.
So lets sum up.
The Exposure Triangle is all about understanding the components that make up your exposure and how they are used by themselves to get a correct exposure and then in pairs to modify your exposure to get the right exposure for the task you want to achieve to get the optimum result.

