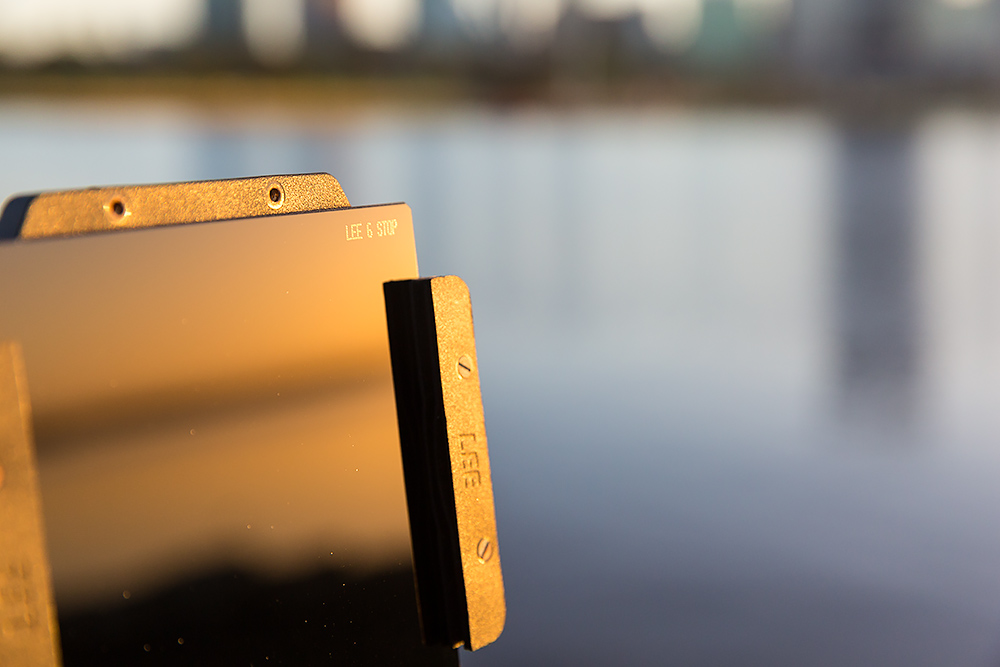
The full Neutral Density (ND) Filter is the landscape photographer’s best friend, second to the polariser. The ND filters different strengths allow you to achieve shutters speeds not possible in certain lighting scenes so you can achieve that perfect movement effect or you can extend your shutter speed for a very long time to create amazing movement effects that are impossible to do without the use of one.
In this article we are going to look at the Types of ND filters, the best brands you can buy, if your on a budget and can only afford one full ND filter which one should you get and problems associated with shooting long exposures using full ND filters.
TYPES OF NEUTRAL DENSITY FILTERS
When it comes to full ND filters they are just like graduated neutral density filters in that they come in very similar strengths, the only difference is the full ND filter is a 100% coverage of the lens unlike the graduated filter, so their job is totally different. These are some very common full ND strengths .3 = 1 stop, .6 = 2 stops, .9 = 3 stops, 1.8 = 6 stops, 3.0 = 10 stops.
All the full ND filters I have seen are made from glass, the types you can get are either a filter thats screws into the internal thread of your camera lens or ones that slip into a filter holder that have a light tight foam backing, as with ND filters due to them extending shutter speeds any external light entering the lens will cause unsightly marks and brightness in your exposure.
There are pros and cons to using a screw in over a slide in filter. When you shooting with a 10 stop filter it is very hard to impossible to focus through the filter so with a screw in its a case of unscrew, focus and then put it on. Where with a slide in filter you can just slide it up focus and push it down.
When it comes to what is more “light tight” people tend to say the screw in filter is better due to it going into a thread, where the slide in filter has a few more barriers that need to be light tight to avoid problems as the filter is in a holder that is clipped onto an adaptor ring. I have both kinds the screw in and also the slide in ND filters and I don’t find either a problem.
NEUTRAL DENSITY FILTER BRANDS
When it comes to taking good high quality photos it pays to put a good quality filter on the front of your expensive lens. Buying a poor quality ND filter can give you strange colour casts and un even light distribution in your images at longer exposures. Over my career I have used two brands extensively. B+W and Lee.
In the B+W brand I have the .3, 1.8 and 3.0 filters, all are screw in. With the Lee brand I have the Lee Big Stopper 3.0 (10 stop) and the Little Stopper 1.8 (6 stop) all slide into the Lee Foundation Kit.
The difference between the brands in terms of the image you capture is only slight in terms of the Lee filter will air on the side of giving you a cooler colour balance where the B+W filter will be warmer. Those with a digital camera this colour temperature adjustment is a very quick fix in Camera Raw.
Another company on the scene making high quality glass filters is NiSi so it might be worth a look at those as well. Here is a ling for the article on the difference between the B+W 10 stop and the Lee Big Stopper 10 stop filters.
SHOULD I BUY THE 6 OR 10 STOP FILTER
None of these filters are cheap for someone starting out and wanting to explore the world of manipulating shutter speed using ND filters.
For me the 10 stop (3.0) filters are a lot of fun if your wanting to do long exposure times in excess of 2 minutes. But I personally find that the 10 stop filters is limted to just this. In my camera bag the .9 (3 stop) and 1.8 (6 stop) filters get most of the work as they allow me to control light and give me longer shutter speeds in lower light settings where it matters and it complements the shot perfectly. If I was to use a 10 stop in these conditions then I would have to increase my ISO to get the shutter speed I needed and you don’t want to increase your ISO when you don’t have to.
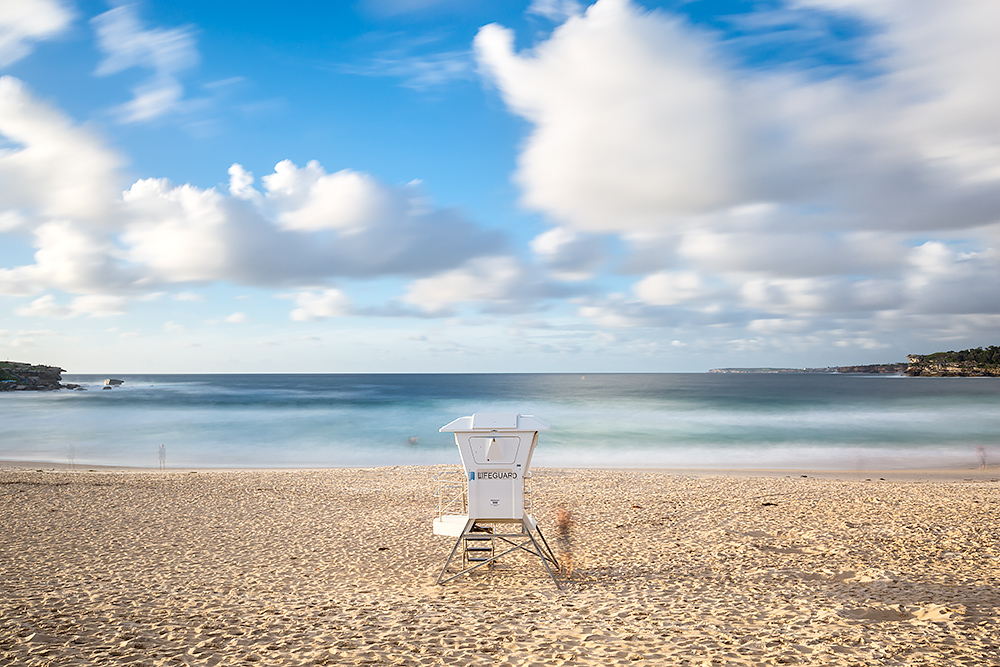
The above image was taken down at Bondi Beach in the morning and I wanted the effect of movement and for the people standing around the lifesaver tower to look like apparitions. With my current camera settings getting this look wasn’t possible. The 10 stop was going to be too long unless I wanted to push my ISO from 100 to 800 and what’s the point in doing that, so my 6 Stop Lee Little Stopper was the best choice. I was able to shoot at my desired aperture of F11 for best Depth of Field, my ISO was 100 and my shutter speed was 25 seconds. Everything worked perfectly, I had all the boxes ticked for a great image to be created. I find that these kind of scenes are more natural. I could have even increased my ISO to 400 which is perfectly fine and my shutter speed would have dropped to 6 seconds. This is a shutter speed easily obtained in low light and would look very normal.
Or to get the 6 second shutter speed I could have used just the three stop and changed my ISO to 50. For me I think of the the 3 and 6 stop filters as and everyday working filter like the graduated ND filters and the 10 stop as a special effect filter that has a limited purpose that works great when you need it to.
STACKING FILTERS
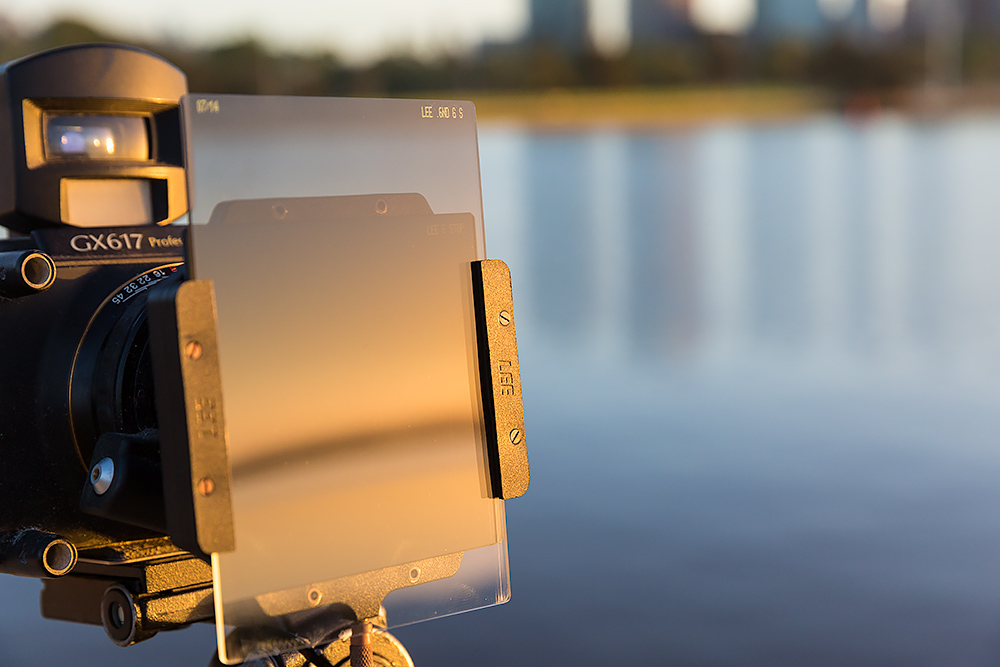
When you put a full ND filter on the front of your lens it dosen’t mean that your image isn’t going to have the same exposure and tonal range problems if you didn’t use one. As pictured above the Lee 6 stop Little Stopper is being used in the foundation kit holder with a Lee .6 (2 stop) soft grad filter to control the exposure in the sky.
If you have a screw in filter you will find that the front of the filter has an internal thread the same size as your lens so any filter kit you may have the adaptor ring will screw into this and you can fit the holder. I have done this many many times.
THE PROBLEMS OF LONG EXPOSURE FROM USING ND FILTERS
The drawn backs from using a ND filter for very long exposure times is noise that enters your image due to the sensor heating up causing hot pixels and noise in your image. The best thing to do is to test your cameras capability with long exposure and see how it handles it. In your camera menu find the setting long exposure noise compensation, this setting will get the camera to anaylse the image it just took and then repair it. Keep in mind though that if you shot an image that was for 1 minute, your camera will take one minute to run it noise compensation process. So if you did a shot for 10 minutes then you have a 10 minute wait before you see the image.
So if your shooting using Long exposure noise compensation on, the best thing to do is shoot your image until you perfect the exposure, composition etc and then activate the function. So you will find that with the on going improvement in technology that camera sensors are being made better and new features are added to combat these problems. An entry level camera will most likely have more issues with these kind of problems than the latest high end camera .

