Over the years I have had a lot of fun shooting long exposures on film and also digital using full Neutral Density Filters. Like everything it has a learning curve that you have to accept through trial and error, but reading through tutorials and articles like this I hope to iron out some of oversights beginners or even experienced photographers can make or overlook, I know I still do from time to time that’s for sure.
The whole idea of long exposure photography is to get a correctly exposed image that is nice and sharp and free from any additional movement or in camera issues that can be avoided. So in this article I am going to outline for you 10 common mistakes you can make when you’re shooting long exposure images.
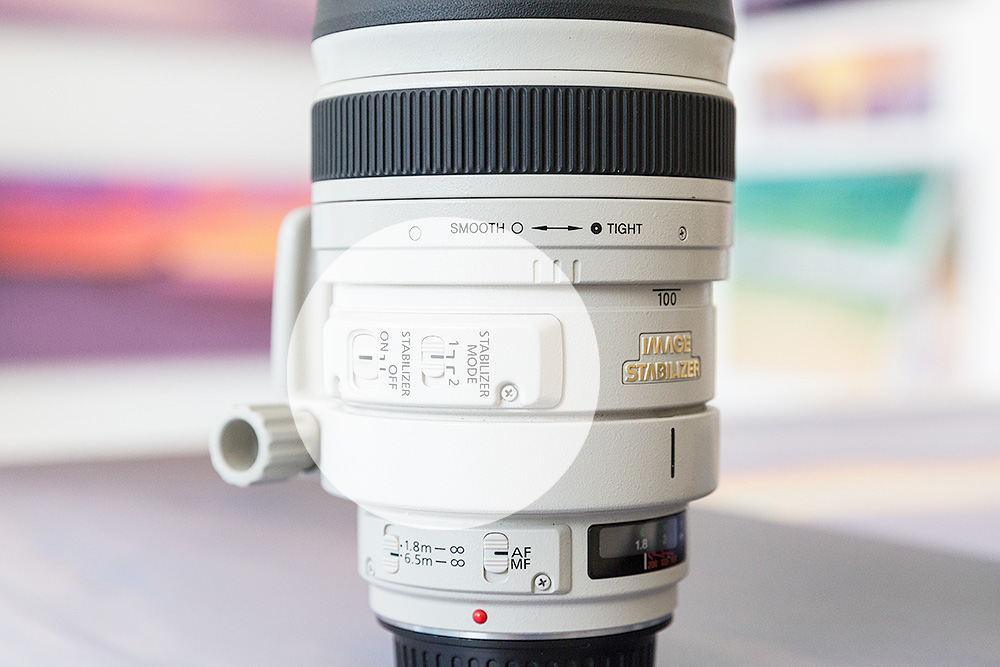
KEEPING YOUR IMAGE STABILISING FEATURE TURNED ON
The whole purpose of your camera lenses image stabilising system is to detect movement while taking the photo and countering that so you get the sharpest image possible. When we are doing long exposure photography you camera and it’s lens are mounted to a sturdy tripod to eliminate all movement. So if your shooting images with the Image Stabilising system turned on then your camera lens is going to activate the system and your going to have an image that has some form of movement in it, no matter how slight.
NOT USING MIRROR LOCK UP
When you look through your viewfinder your looking to a mirror that is also looking into another mirror at the bottom of your camera and it is this mirror that is sitting over your camera’s sensor. When you take a photo this mirror flicks up, the shutter activates and closes and the mirror drops back down. When your doing long exposure photography you want to limit any unnecessary movement at all in your whole capture process. This is why in your camera’s menu there is a feature called Mirror Lock Up.
Now when you activate mirror lock up remember this. It is now a two stage capture process. The first time you click the shutter release button on your remote (yes you need to have a remote shutter release) that first click lifts the mirror, then next time you push the button it activates the shutter and captures your image.
If you can’t be bothered going into your camera menu system to change this or can’t find it, don’t even know if your camera has it then it’s simple, shoot your camera in live view mode where you see the image live on your LCD screen this is the camera projecting the image with the mirror already up.
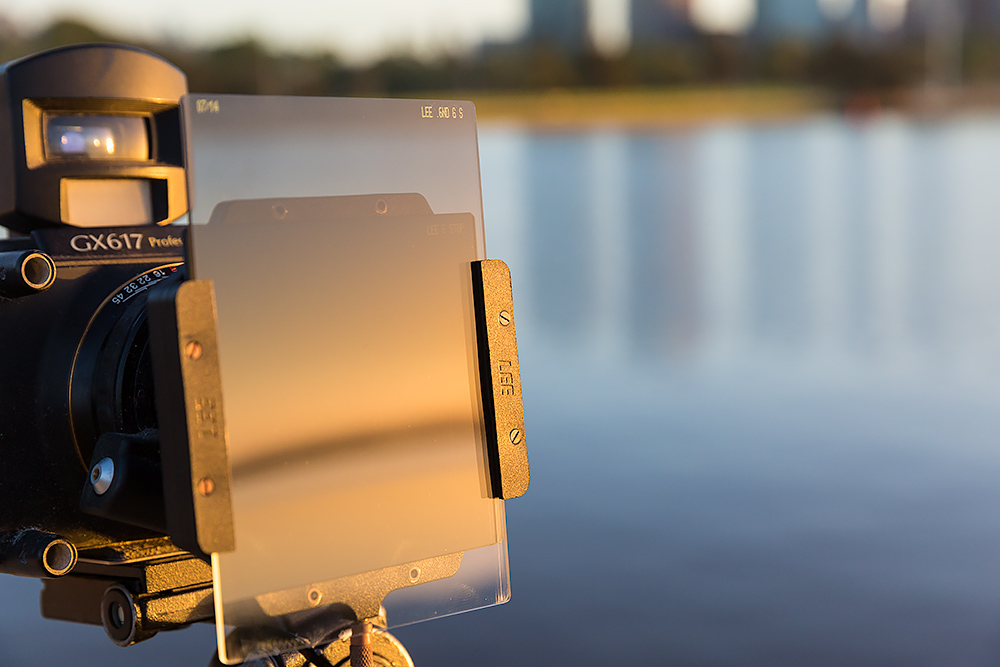
YOU STILL NEED TO BALANCE YOUR EXPOSURE
When your shooting long exposures you will find that the tonal range of your shot at 1 second will be quite different at 2 minutes as certain highlight will balance out with the blending of the image especially in water, (you will see this in the histogram as the height of the spikes will flatten out) but you will find that you still need to use some kind of Neutral Density Graduated Filter with a holder to balance your exposure. Unless you want to Exposure Bracket and blend later in photoshop but this can cause problems if your exposure is for a long time and the light is dropping making a second under exposed shot for the impracticable.
THINKING YOU CAN SHOOT AT F22
When someone say’s “Hey how can I slow down my shutter speed” a quick and logical way to answer that is to say “stop down” / close your aperture. If your shooting at F11 for 30 seconds then at an aperture of F22 (two stops) then your shutter speed will go to 2 minutes. But if your doing long exposure photography there are better ways to reduce your shutter speed than doing this, like using Full Neutral Density Filters.
Now the reason why we don’t just jump to F22 is due to something called optical refraction. Photographer will talk about the sharpest aperture of their lens being between F8 and F11 and this is why most landscape images are shot at these apertures (Subject to Depth of Field needs) but F11 pretty much covers that as well. Optical refraction is something that causes a loss of image sharpness at smaller apertures due to the light having to bend to fill the image sensor.
NOT KEEPING YOUR FILTERS CLEAN
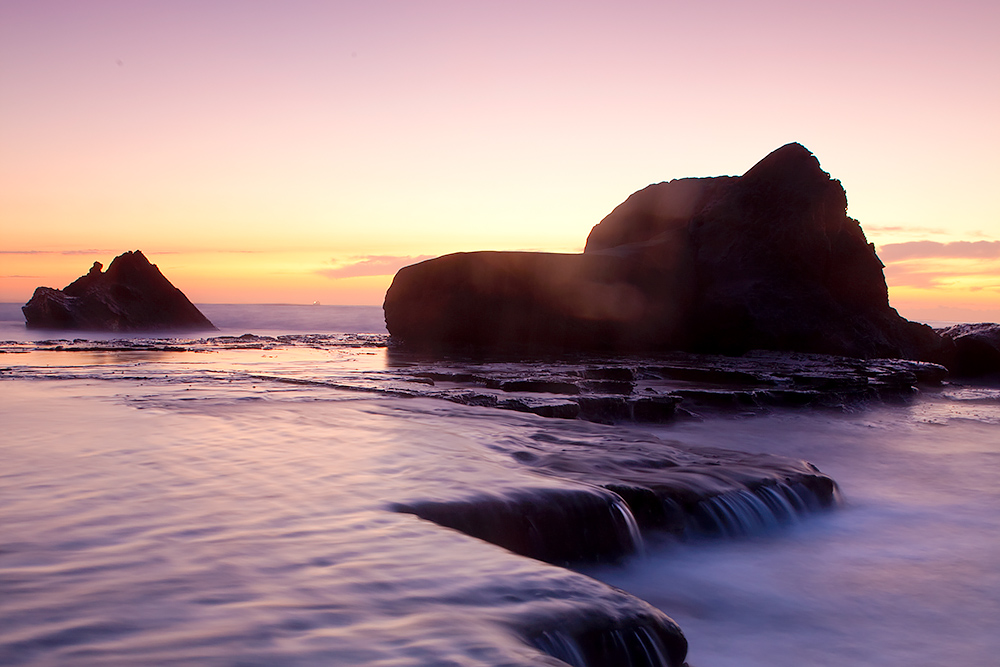
Everyone knows what it is like to wear dirty sunglasses and then when you finally clean them your like “wow” look how clear everything looks. Well your filters are no different, with us landscape photographers your filters are going to get mucky pretty quickly with seaspray, accidental finger prints and other everyday dust and grime. What you will also find when shooting through dirty filters is the optical clarity and quality of the image will not be there are the light coming in will be diffracted by the surface dirt and grime and your images may have strange halos and a foggyness about them. So fixing this is pretty simple keep your gear clean and clean your filters regularly during and after shooting.
USING POOR QUALITY FILTERS
When I teach students I tell them the same story about going cheap when it comes to buying photography accessories.
As a landscape photographer you wake up early to shoot a sunrise, or you travel a good distance to a nice location, you set up your good quality camera, that has a good quality lens on and nice stable tripod, the scene is perfect and the light is amazing then you go to take your photo and the first point of contact your amazing light has is a cheap filter that cost you $50 when a good one would have cost you $150. Doesn’t make sense. If you’re interested enough in photography to start playing around with long exposure and all the effort your going to go into with your time, travel etc then you should at least invest in a good quality full ND filter. For more details about full ND filters and brands then check out my article “Shooting with and How to use full Neutral Density Filters“
BELIVING THE LCD SCREEN AND NOT USING YOUR HISTOGRAM
If there was one thing I can tell you about shooting long exposure photography is that the manufactures recommendation that a 1 second exposure with a 10 stop filter equals a 16 minutes exposure will not be correct, even in the daytime when the light levels stay the same. It is important that you learn how to read and understand your histogram and know what is a good well exposed image and what isn’t. The image you see on the back of the camera on the LCD screen is just a guide and from experience if your using this as the guide the image will tend to be a lot darker than what appears on the LCD screen. Shooting techniques like Exposing to the Right will put you on the right path, but pushing your histogram right with long exposures can be tricky as the article explains.

NOT COMPENSATING FOR LIGHT CHANGES
Long exposures on sunrise and sunset can really give you an amazing image but you need to understand that if your shooting in quick changing light like the rising of the sun, a long exposure that goes for 5 minutes may only need 3 minutes to be correctly exposed as the five minutes that was correct when you started will cause it to over expose due to the increasing light brightness that will occur during the exposure period. Hope that makes sense.
The opposite is the case on sunset when the light is being removed from a scene a five minute exposure might end up needing 7 or 8 minutes as a five minute exposure was correct at the time of working it out but during the exposure the light dropping needs to be accounted for and adjusted.
Now you’re probably expecting me to give you the answer to work this out and I can’t, it comes down to an educated guess, a feeling, experience on getting it right and wrong.
NOT COVERING THE VIEWFINDER
For those of you that like to shoot really long exposures light leaking may end up being your enemy and will ruin your shot. While you might put effort into making the filter on your lens light tight, don’t forget about the ambient light that will leak into the camera through the viewfinder. On the higher end DSLR’s they actually have a shutter that you can close over the viewfinder for this exact purpose. Something as simple as your cleaning cloth over the viewfinder will work, the light that leaks through here is very minimal but I can tell you that it is 100% there if you don’t do this and you will see it.
KEEPING EVERYTHING STEADY
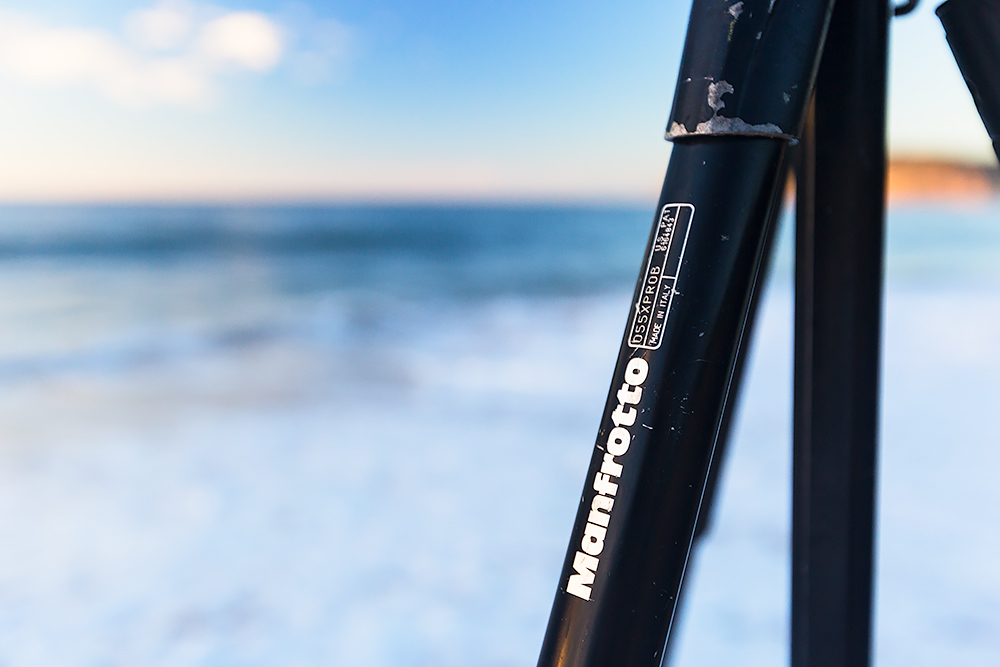
If your doing long exposure photography you need to get yourself a good sturdy tripod that can more than handle the weight of your camera, any vibration from the wind or your tripod giving way to the weight of the camera and lens on top will ruin your image. If you find your shooting in a firm wind really tighten down your tripod head handles, make sure your tripod plate is on tight and that the camera is locked on tight as well. If you have a tripod where it has a centre column that can raise the head up, make sure this is locked down tight as well. Some tripods will have a hook under the tripod head where you can hang additional weights. Just keep in mind that if your shooting in the wind this can rock the tripod, this works well when shooting waterfalls and your tripod legs are in the fast moving water.
FURTHER READING
For additional information I have an article “Mastering Long Exposure Photography” which will help you look at practical examples of long exposure images, how to shoot them and the filters used.
For information on using full Neutral Density filters I have this article on “Shooting with and how to used Full Neutral Density Filters“

