So I talked about “How to Find the Best Helicopter Company for Aerial Photography” and let’s hope that you have. I then talked about “Planning your First Helicopter Photo Shoot” so now the big day is finally here. The weather and conditions are optimal to get what you want, both you and the company have a good idea of what you want to get out of the shoot (as much as you can get through over the phone conversations and emails), your gear is ready to go, batteries charged, SD / CF cards are formatted ready for that Aerial goodness to be saved onto them. Now all that needs to be done is to take the photos.
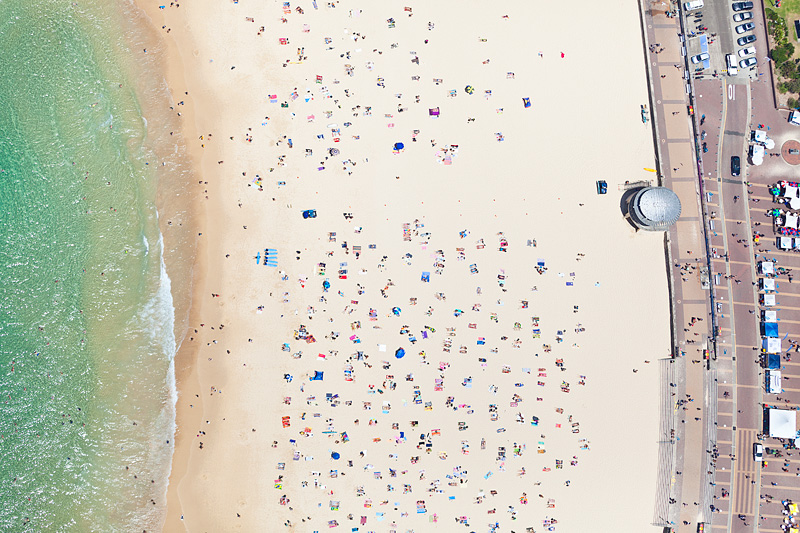
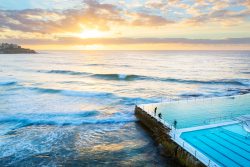
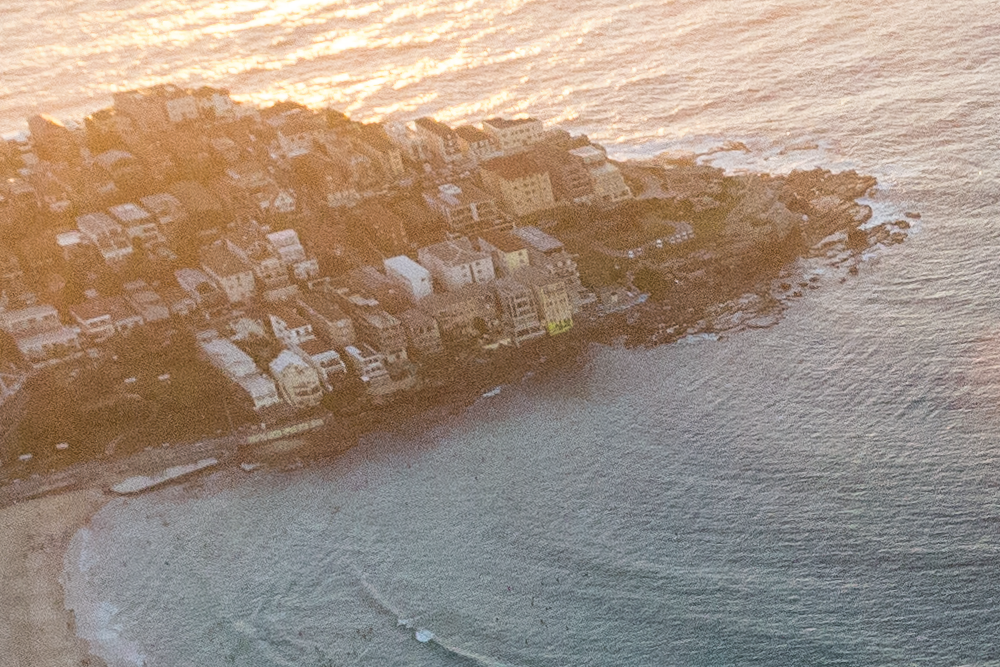
Bondi Beach, Sydney - f4 @ 1/8000th a sec, 400 ISO
CAMERA SETTINGS - APERTURE
Camera settings when doing aerial photography is the big question that everyone wants to know. It boils down to making sure you have the right aperture to get full image sharpness to the edges of your frame and to then have the right shutter speed so you don’t end up having blur or softness due to a slower shutter speed.
The above shot of Bondi Beach is perfect and sharp but the problem with the images is the loss of image sharpness it has on the edges of the photo resulting from the aperture being f4. For your aerial images to have the best edge sharpness you are going to want to shoot at an aperture no less that f8, especially when you have room to play with when it comes to shutter speed.
If I was to review this image again, I would drop the ISO to 200 making the shutter speed 1/4000 of a sec. Then stop down the aperture 2 stops to f8 making the shutter speed 1/1000 of a sec. So f8 @ 1/1000 sec @ 200 iso would have been perfection. I still got a great image but it could have been better. This is why it is also important to review your images after your shoot to make sure you can see where you went wrong and right and make changes on your next shoot.
So when doing aerial photography shoot with an aperture F8 or over.
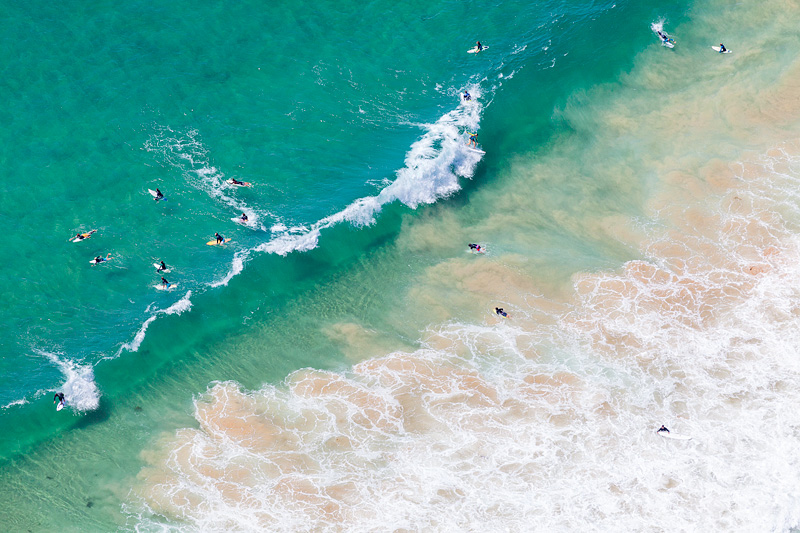
Manly Beach, Sydney - f8 @ 1/1600 a sec, 400 ISO - Canon 100 - 400mm push pull lens @ 400mm
CAMERA SETTINGS - SHUTTER SPEED
When doing your shoot your shutter speed is the most important factor. A good aperture and ISO are pointless if your images is blurred from a shutter speed that is too slow. So when your shooting a good shutter speed needs to be achieved and from that you work the other settings out. Now if your shooting during the day achieving a fast shutter speed over 1/1000th of a second will be easy, then from here you can set a great aperture and ISO.
In the example above it was a morning shoot I did over Sydney’s Eastern Beaches, I wanted a shutter speed over 1/1000 of a sec and that came at the price of dropping from f8 to f5.6 and shooting at an ISO of 2500. As a rule try and keep your shutter speed over 1/1000th of a second. If your shooting with a focal length of 200 or more then you will need to speed your shutter speed up even more to ensure your images are capture sharp, at least another stop ie 1/2000th of a sec. If you aim for this and you fall short then you’re still safe. What you don’t want is to fall short and be 1/400th of a sec @ 400mm.
When doing aerial photography shoot with a shutter speed over 1/1000th of a second.
100% zoom crop of Bondi Beach Aerial - High Noise issues loosing sharpness and muddy look in shadows - f5.6 @ 1/1600th sec, 3200 ISO
CAMERA SETTINGS - ISO
Your ISO settings are pretty simple when shooting from a helicopter during the day. Once you have your aperture and shutter speed in the zones you want you will find your ISO well within the safe range of 200 – 400. Your ISO when shooting in low light like pre dawn or after sunset is when things get tricky and devastating when you have to crank your cameras ISO settings up to get a workable shutter speed but as a result you start to add in a lot of high ISO noise into you’re image that in turn results in High ISO noise making your image look unsharp and muddy.
When I did my sunrise shoot over Sydney’s Eastern Beaches we took off prior to the sun rising and made it to Bondi Beach, the shots were nice but the camera settings for them wern’t and for me I deemed them un useable for the quality standard I have for my website.
This is a key time where camera technology comes into play. I was shooting with a Canon 5D Mk III. Great camera but it would have been ideal to have used the 5D Mk4 or if I had the Sony A7R Mk2 where one of it’s key features is a clean high ISO.
When doing aerial photography know the limits of your camera’s useable ISO range.
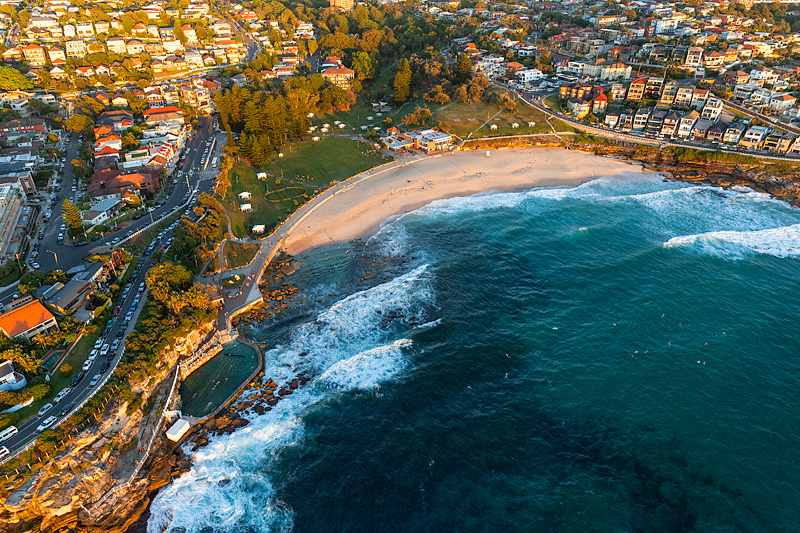
Bronte Beach, Sydney - f5.6 @ 1/1200 a sec, 2500 ISO
CAMERA SETTINGS - SHOOTING MODE, FOCUS, LIGHT READING
The settings on your camera are also an important part of your shooting set up. I always shoot in Aperture Priority, meaning I choose the aperture and let the camera choose the shutter speed. I will also pick the ISO and with a few test
Shooting Mode: I always shoot in Aperture Priority, meaning I choose the aperture and let the camera choose the shutter speed. I will also pick the ISO and with a few test shots I can then tweak my ISO settings to ensure I get my optimal shutter speed over 1/1000th of a second. There is no need to shoot in Manual mode unless you feel there is a need to have that element of control over the images.
Focusing: Your lens should be on Auto Focus and if your lens has image staberliser as a feature then turn it on.
Light Metering: I past shoots I have used Partial Metering but having reviewed images and then undertaken another flight with my light metering set to Full Matrix (center weighted – average metering) the exposure readings for Aperture priority have been better as instead of basing the exposure on a body of water and then causing the sand to over expose the overall scene have been balanced much better taking into consideration all factors in the image and not what it is reading within it’s determined area.
Camera RAW: I harp on about this and for good reason. Make sure your shooting RAW files and not Jpeg.
Keep your camera in Auto White Balance (AWB) in post production you can change it without any issues. Have your camera set to shoot continuous as well, sometimes it is overkill, but when you need it, you will be glad you had it set.
When doing aerial photography shoot in AV (aperture priority mode), keep your lens in Auto Focus, have your light metering set to Full Matrix, shoot RAW files.
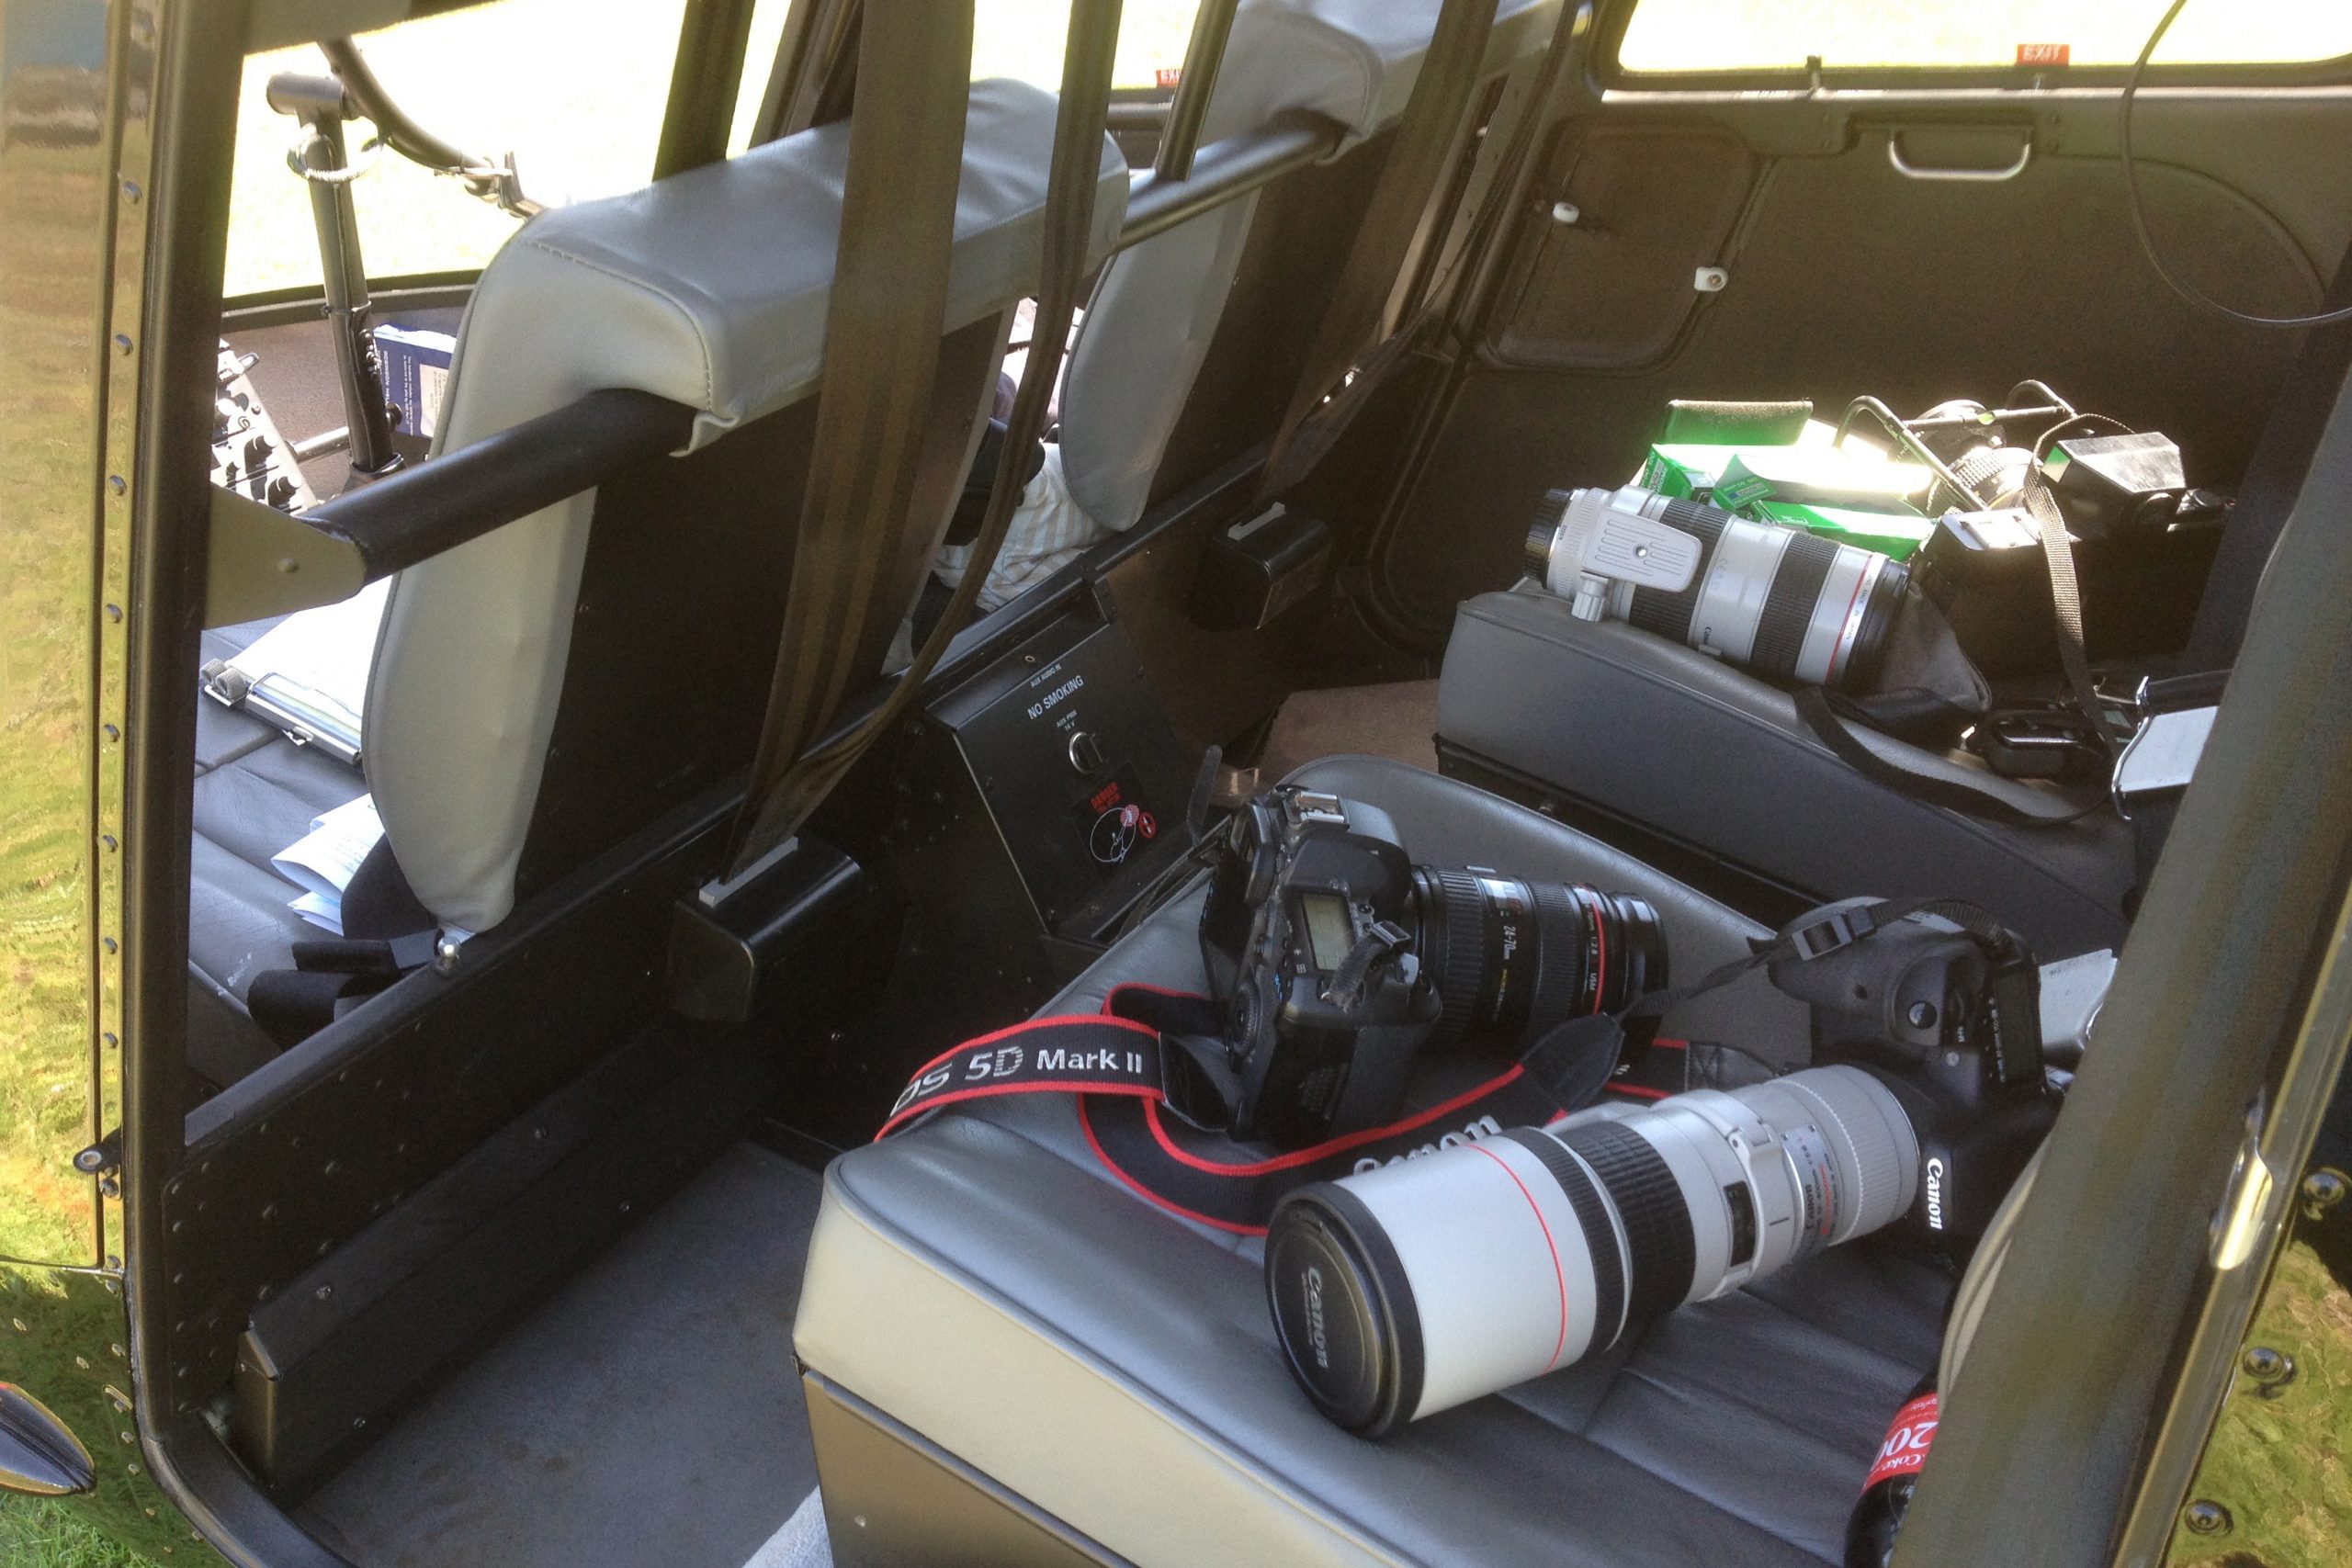
WHAT LENSES AND GEAR SHOULD I HAVE AND TAKE
When it comes to shooting aerials I have used the following lenses 17-40mm, 16-35mm, 24-70mm, 70-200mm, 400mm (prime lens) and a 100-400mm. All of these lenses have given me excellent results.
I think for any aerial shoot it is important to have a wide angle lens for those great open vista shots and a telephoto lens to zoom in and get those shots where you can isolate a subject. Out of the range of lenses above if I had to choose two I would pick the 24-70mm and the 100-400mm as it covers an excellent range of focal lengths. I would pick the 24-70mm over the 16-35mm as you will find that on a full framed lens 24mm from the air is more than ample and it is nice to be able to go to 70mm when needed, being limited to 35mm would be frustrating.
The 100-400mm over the 70-200mm is obvious as I can go 400mm and really get up close and personal with a composition and I have the ability to got to 200 or 100mm quickly. It’s a great working range from the air.
When it comes to shooting with two bodies in the above picture I had the Canon 5D MkII and the 7D on that particular shoot. Now that I have the 5D MKIII I use the 5D MKII as the second body. If you only have one body it is fine, changing lenses is a bit of a pain but it certainly isn’t a deal breaker.
With all my shoots I have hand held all the shots. I know some people out there recommend resting your camera on some kind of special cushion that is there to absorb the vibration, but I never found it necessary. Sounds like it would limit your shooting flexability.
IN AIR SHOOTING TIPS AND TECHNIQUES
As mentioned above have your camera set on consecutive shooting, not single capture. But when your blasting away keep in mind that with every few photos to stop and release the shutter so the next sequence of images the camera has a chance to refocus and meter read, this will ensure that if your first lot of images wern’t correct in terms of focus or exposure the next lot will be that almost look the same.
When you’re in the air shooting you will get non dominant eye fatigue meaning the eye you have closed as you shoot will eventually want to open from being closed during all the shots your taking, don’t fight it, just shoot with both eyes open and just focus on what you see through the camera, to give it a rest as you continue to shoot.
As your shooting avoid leaning your body against the helicopters external body, this is where the most vibration is and it will travel through your body. Your seat will keep you nice and steady and free from the effects of vibration.
When your sitting in the helicopter waiting to take off have your camera out and start to work out your shooting settings. Then when you in the air and on your way to your location take random shots and check that everything is looking good in terms of exposure, check your shutter speed is working well when you zoom in on different objects and stays within your desired parameters. There is no point sorting this stuff out when you on location and the shots you should be taking are keepers, not test shots.

The result of going from AV mode to Manual without knowing. At least I had good detail in my shadows lol.
SHOOT AND REVIEW
One important thing to do in the air is to take a minute or two every now and then to check the quality of the images your shooting. Select a shot and zoom in on it to check that is to being captured sharp, even if your shooting a fast shutter speed, even more so if your not. Your better off finding out that you have a problem you can easily solve in the air than when you get home and realise your whole shoot suffered.
I remember I was doing a shoot over the Great Barrier Reef off Cairns and I was shooting with my Canon 5D Mk2 during the shoot I was busily shooting away and I went to check my shots and they were all white. What had happened is during the flight when I have gone to do something like change lenses the top wheel on my camera that selects the shooting mode had been pushed from AV to Manual and the manual settings were way off for what was needed and I had shot for about 5 minutes like this. Thankfully the 5D Mk 3 has a button you need to push to now spin the shooting mode but every camera is different and who knows what might get spun or switched on and off with out you knowing in the hussle and bussle of shooting, so check your shots in air.
ALWAYS ASK FOR WHAT YOU WANT
Now I mean this in a nice way but the pilot of the helicopter company is just like your camera, there an instrument to be used to get what you need from the shoot so you need to take control and be assertive or find the confidence to ask what you want done. The worst thing they can say is “No” and the reason why they will say no is that it either can’t be done due to permissions or safety. But the thing to do is ask. So if you want to go somewhere ask. I remember doing a flight over Bondi and it felt like ages that we were waiting for access to the area and I was dying for the pilot to ask again so instead of asking them to ask again I re word it like, “Wow it takes a while to get permission doesn’t it, do you think it will be long”. This prompted them to tell me that air traffic hasn’t forgotten our request it just takes time a few minutes later (aka $45) we got access. But the thing was I found a way to ask, it’s my flight and money. Just find a good way to communicate what you want.

CONTROL AND DIRECTION
During your shoot it is really important that any directions you give the pilot are clear so they know what you want to achieve or expect them to do. When I was doing a shoot over Newcastle I wanted to get this great wide angle panoramic shot of Newcastle baths, but the angle was so wide that it was impossible to get out of the open door of the helicopter. So I gave the pilot clear instructions to keep the machine in a certain position and that when I said “Go” he was to then rotate the machine slowly clock wise so it allowed me to continue the series of shots to make the panorama. It took a few goes to get the timing right. But the clear instructions I gave them allowed us to work together and for me to get exactly what I wanted. I did 6 runs of shooting the panorama so I had choice and with each pass I got a better series of images. Remember if you didn’t get what you wanted, do it again and again and again, don’t get embarrassed that you want to do it over and over again, especially if your getting it wrong and are working it out, you need to get the shot you visioned. The pilot doesn’t care how many times you want to it, it’s your time in the air and their doing their job under your direction.
If the pilot asks you if “were going to be here long” don’t stress there not giving you a nudge to get moving, there going to let Air traffic control know that you’re going to be conducting air operations in that area for a longer period. It’s all about safety and letting people know what you’re doing, where, for how long and what height.
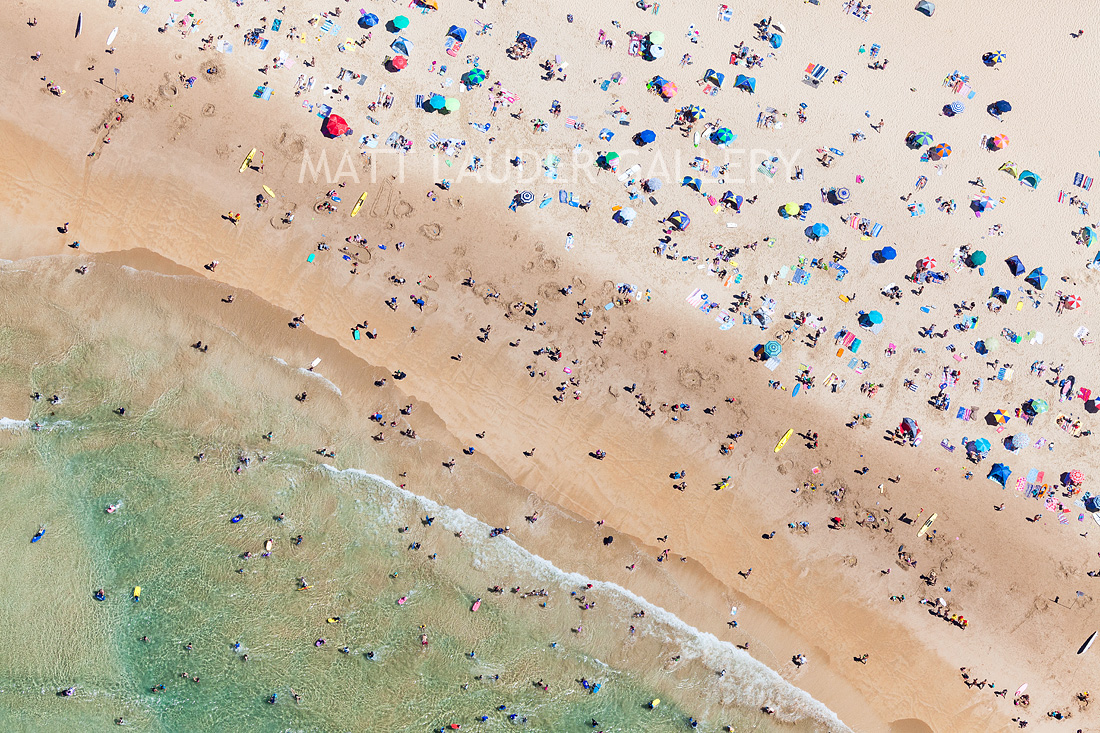
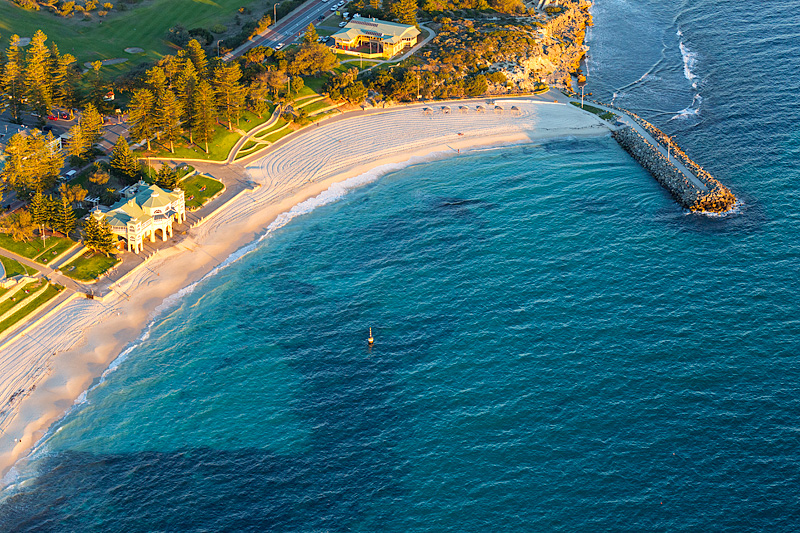
Manly Beach, Sydney - f8 @ 1/2500th a sec, 400 ISO
TAKE WHAT YOU CAN GET
Flying in controlled air space can be very frustrating. If the pilot knows what you want and this comes down to your shoot planning and briefing before the flight they will let you know about opportunities that come up to shoot, or when it’s a good idea to try and achieve an objective of your flight. One time I was wanting to shoot over Bondi and I was told we got given a 4 minute window of time to get in and out of the air space over the area, so I took it. The pilot knew the images I wanted to get so we were flying over Bondi Beach, banking hard left so I could get my directionally down images, then again and again. After the four minutes I felt sick, I couldn’t keep my left eye closed as it was tired from being shut so I could look through the view finder with my right eye, it was full on. But I took advantage of the small window and I got the images I wanted. Longer would have been better but it wasnt ment to be. So when your out shooting take advantage of what you can be offered, waiting can mean wasted money in flight time.
With other shoots I have been flying and the conditions were great. We did a flight from Mascot airport in Sydney up the Eastern Beaches coastline to the Northern Beaches where I shot for a while, the pilot then told me that I had reached my time where we had to turn back in order for me to complete the flight within my time limit. They said I could stay longer if I wanted up to another 45 minutes so I did, sure it cost me another $400 – $500 in time but the images I got as a result with the great conditions far exceeded the additional expense.
FLY SAFE
When you’re in the air flying the most important person is the one you’re flying over, not you. If anything falls out of the helicopter and hits someone their pretty much dead and it will fall on the pilot first and then you. You must make sure your camera has it’s strap fitted. One time I forgot and I had to use a nylon shoe lace as one. Yes I should have known better. When I’m shooting from the helicopter I dont have the strap around my neck I have it wrapped around my wrist numerous times. I find I have more flexability this way.
When you’re flying the helicopter you have the front shielding you from the wind speed. If you push your lens / camera out too far you will feel it get grabbed by the wind, when this first happens it will take you by surprise but you will then know the work area you have when shooting and extending your camera outside of the helicopters body.

